Mastering Chaturanga: A Extensive Guide to Alignment,Strength,and Safe Progression
Chaturanga Dandasana,often simply called Chaturanga,is a cornerstone pose in many yoga practices,bridging Plank and Upward-Facing Dog. However, its deceptively simple appearance often hides a complex execution. Many practitioners struggle with proper alignment, leading to strain and hindering the development of true upper body strength. This guide provides a detailed, step-by-step approach to mastering Chaturanga, focusing on safe progression, correct alignment, and building the necessary strength to perform the pose effectively. we’ll move beyond common pitfalls and empower you to experience the full benefits of this powerful asana.
Why Chaturanga Matters: Beyond the Pose
Chaturanga isn’t just about lowering your body to the floor. It’s a foundational strength builder, particularly for the triceps, shoulders, and core. A correctly executed Chaturanga prepares the body for more advanced arm balances and backbends, while simultaneously cultivating body awareness and control. Incorrectly performed, however, it can contribute to shoulder impingement, wrist pain, and lower back strain. Thus, a mindful and progressive approach is paramount.
Understanding Common Challenges & Avoiding the “Chest-Chin” Trap
A frequent mistake beginners make is mimicking the alignment seen in “Knees-Chest-Chin” - a modified version often used as a stepping stone. While helpful initially, this variation can reinforce incorrect habits. The key difference lies in maintaining upper arm alignment.
Avoid letting the heads of your upper arms drop towards the floor as you lower down. In a proper Chaturanga, your upper arms shoudl remain at the same height as your elbows throughout the movement. This maintains shoulder stability and prevents undue stress on the joint.
you’ll know you’re on the right track when your belly reaches the floor before your chest does. This indicates a forward shift in weight distribution and proper core engagement.
Building Strength & Alignment: The Strap Modification
Before attempting the full pose, we’ll utilize a strap to build awareness and strength, focusing on two crucial elements: elbow height and leg activation.
Instructions:
- Prepare the Strap: Create a loop with your yoga strap approximately as wide as your hips. It should comfortably wrap around your upper arms just above the elbows.
- Enter plank: Position the strap around your arms and come into a high Plank position. Ensure your hands are shoulder-width apart, fingers spread wide, and your body forms a straight line from head to heels.
- Lengthen & Engage: Inhale, reaching your sternum forward and heels back simultaneously. This creates length in the spine and activates the core. Lift the tops of your thighs, directing your tailbone towards your heels. You should feel a subtle engagement of your abdominal muscles.
- Controlled Descent: Exhale and bend your elbows, keeping them close to your sides. The strap will catch you,providing support and preventing a collapse. Aim for a 90-degree angle in your elbows, with your upper arms parallel to the floor and forearms perpendicular. Your shoulders should be level with your elbows.
- Reactivate & Ascend: While supported by the strap, actively engage your legs – pressing your heels back and lifting your thighs. This prevents sinking in the core and reinforces the connection between upper and lower body. Use your core and legs to press back up to Plank.
Why this works: The strap provides tactile feedback, ensuring you maintain the correct elbow height. The leg activation prevents the core from collapsing and encourages a full-body engagement.
The Full Chaturanga: A step-by-Step Guide
Once you’ve mastered the strap modification,you’re ready to attempt the full pose.
Instructions:
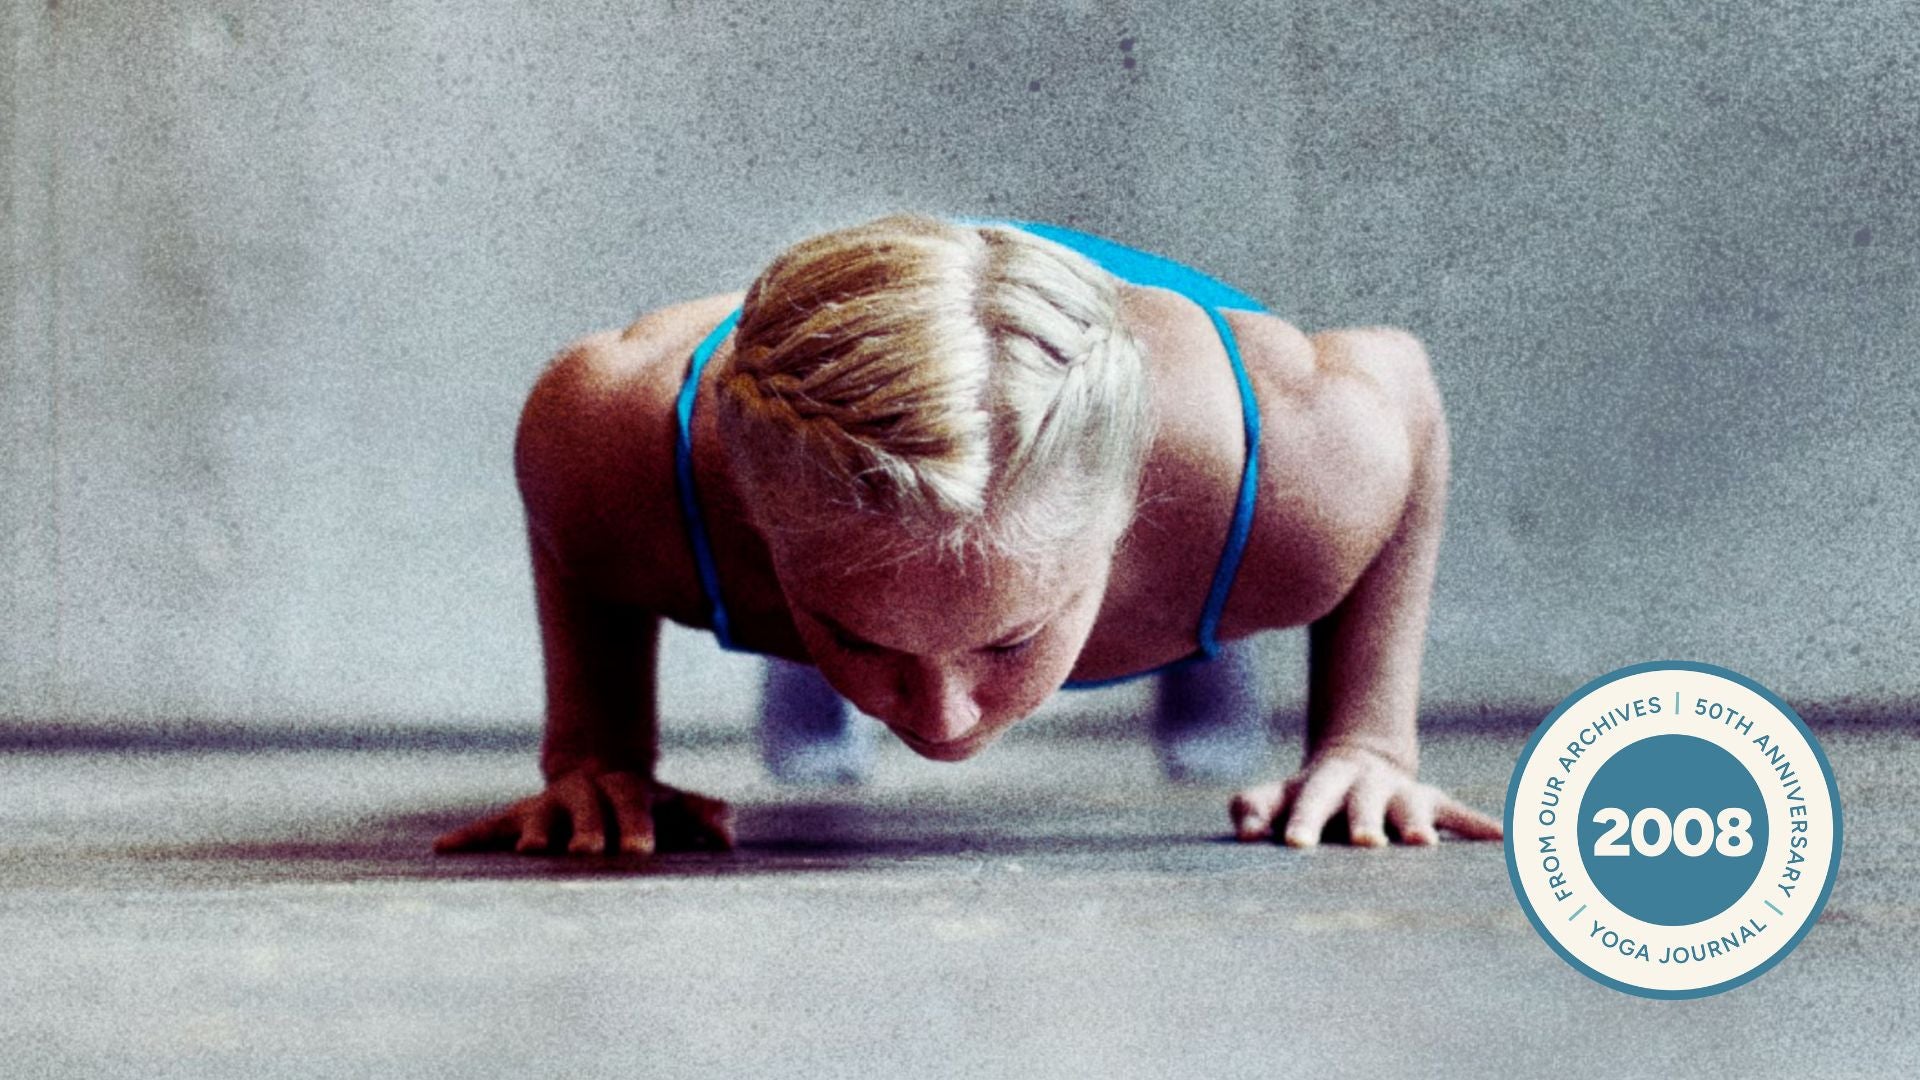
- Start in Plank: Establish a solid Plank position, focusing on stacking your shoulders over your wrists and engaging your core. Look slightly forward to avoid dropping your head, which can compromise shoulder alignment.
- Maintain Body Integrity: As you exhale, keep your elbows drawn in close to your sides and actively lift the heads of your upper arms. Imagine squeezing a block between your upper arms and your ribcage.
- Controlled lowering: Slowly lower your body towards the floor, maintaining a straight line from head to heels. Focus on creating 90-degree angles in your elbows, keeping your upper arms parallel to the floor.
- Engage & Press: Continuously press your heels back and reach your heart forward, maintaining tension
Keep reading