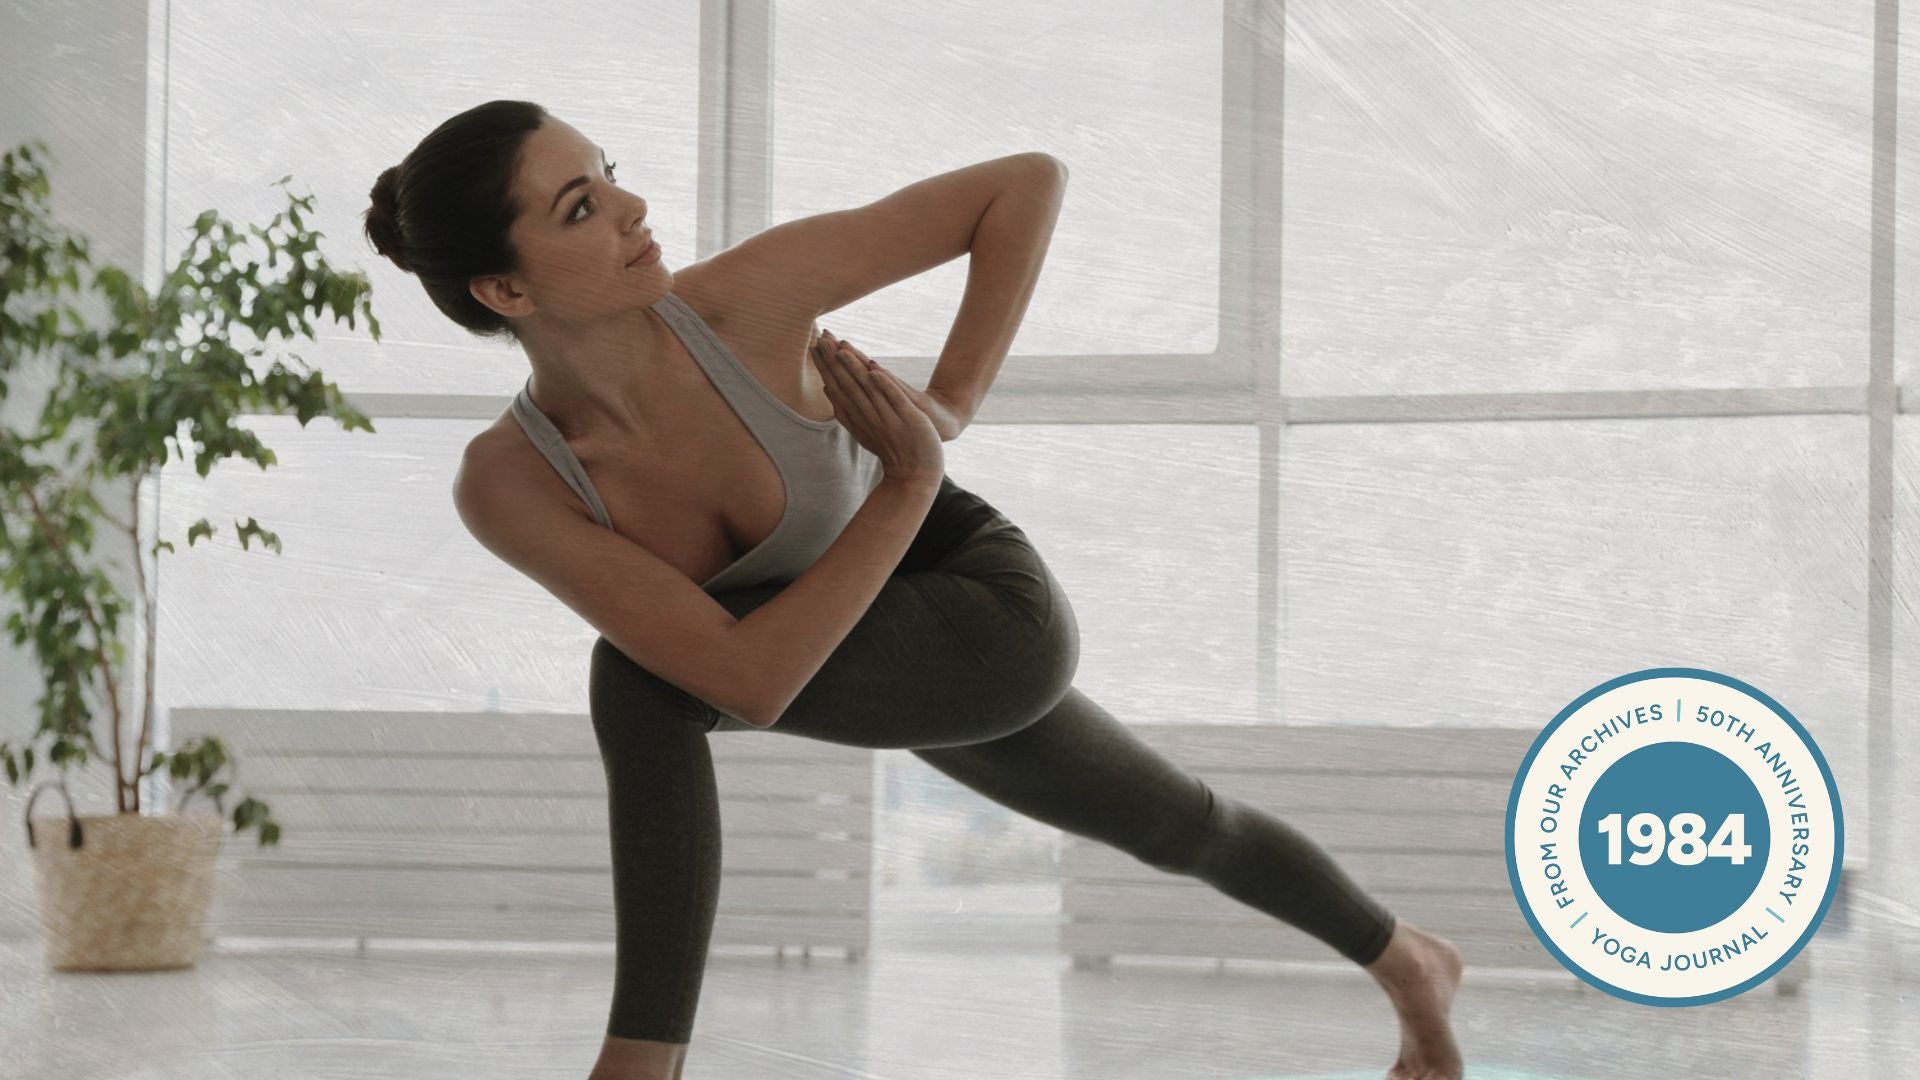
Mastering Revolved Side Angle pose (Parivrtta Parsvakonasana): A Comprehensive Guide
Revolved Side Angle Pose, or Parivrtta Parsvakonasana, is a powerful standing posture that builds strength, versatility, and awareness. It’s a deeper variation of Extended Side Angle Pose (Utthita Parsvakonasana), focusing on gentle spinal rotation while maintaining foundational stability. This guide will walk you through the pose, offering modifications and insights gleaned from decades of yoga practise, drawing heavily from the teachings of B.K.S. Iyengar in Light on Yoga.
Understanding the Foundation: Extended Side angle
Before diving into the revolved variation, a solid understanding of Extended Side Angle is crucial. Think of it as a stretch without the twist. It establishes the leg strength and spinal alignment necessary for a safe and effective Parivrtta Parsvakonasana. Iyengar’s light on Yoga provides an excellent detailed explanation of this foundational pose.
Why Practice Revolved Side angle?
This pose offers a wealth of benefits, including:
* Improved Digestion: Iyengar specifically noted its positive impact on digestive and eliminative organs.
* Spinal health: The pose encourages spinal elongation and rotation, promoting flexibility and overall health.
* Strengthened Legs & Core: It builds strength in the legs, ankles, and core muscles, essential for stability.
* Increased Body Awareness: The pose demands mindful engagement, fostering a deeper connection to your body.
Step-by-Step Guide to Revolved Side Angle Pose
Let’s break down the practice, incorporating variations for all levels.
- Starting Position: Begin with your feet wide apart – approximately 4-5 feet. turn your right foot out 90 degrees,aligning the heel with the arch of your left foot.
- The Bend: Bend your right knee directly over your right ankle, aiming for a 90-degree angle. Maintain a strong, stable bend, avoiding any collapsing inward.
- Arm Placement (Option 1 – Beginner): Instead of reaching across the knee, place your right forearm on the inside of your right thigh.This prioritizes spinal elongation before introducing the twist.
- Arm Placement (Option 2 – Intermediate/Advanced): Swing your left arm around, aiming to place your elbow on the outside of your right knee. Actively hook your shoulder around the leg, creating space in the upper back.
- Grounding & Extension: Press firmly through your right heel, keeping it grounded as much as possible. Extend your left arm towards the ceiling, lengthening the spine.
- The Twist: On an exhale, gently rotate your torso to the right.If using Option 2, extend your left elbow and attempt to place your hand on the floor near your right foot. Avoid forcing the twist.
- Final Position & Alignment: Raise your right arm overhead, extending it behind your ear.Maintain a long spine and a strong, grounded base. Imagine a diagonal line of energy from your right foot, up through your leg, spine, and extending through your fingertips.
- Breathing & Holding: Hold the pose for a few breaths, gradually increasing the duration as you become more comfortable. Keep your breath flowing freely and avoid locking your knees.
- Releasing the Pose: Exhale and slowly unwind, using your left arm to guide you back to the starting position. Rest for a few breaths before repeating on the other side.
Using the Wall for Support & Refinement
The wall is an invaluable tool for learning Parivrtta Parsvakonasana:
* Wall Support for Back Leg: Place your back foot against the wall. This reinforces the importance of actively pressing back through the heel and maintaining a strong back leg.
* Wall Support for Spinal Extension: Use the wall to support your extended arm, encouraging spinal lift and lengthening before attempting the twist. Focus on creating space in the spine, rather than forcing the rotation.
important Considerations & Common Mistakes
* Avoid Bending the Front Knee: Maintain the 90-degree angle throughout the pose.
* Don’t Sink the Pelvis: Lift and engage your core to prevent the pelvis from dropping towards the floor.
Worth a look