For individuals over 60, maintaining upper-body strength is essential for functional independence and cardiovascular health. A 10-day wall push-up challenge offers a low-impact, highly accessible entry point to build strength in the chest, shoulders, and triceps without the physical strain of floor-based exercises. By adjusting variables like foot position and tempo, this progression allows for customized intensity while minimizing stress on the wrists and lower back.
Research suggests that physical fitness in older adults is closely linked to long-term health outcomes. A study published in BMC Sports Science, Medicine & Rehabilitation highlights that structured, medium-intensity training interventions can lead to significant improvements in physical fitness among older populations (Hidayat et al., 2025). Furthermore, clinical observations have associated higher push-up capacity with a lower risk of future cardiovascular events, underscoring the importance of incorporating resistance movements into daily routines (Yang et al., 2019).
Understanding the Mechanics of the Wall Push-Up
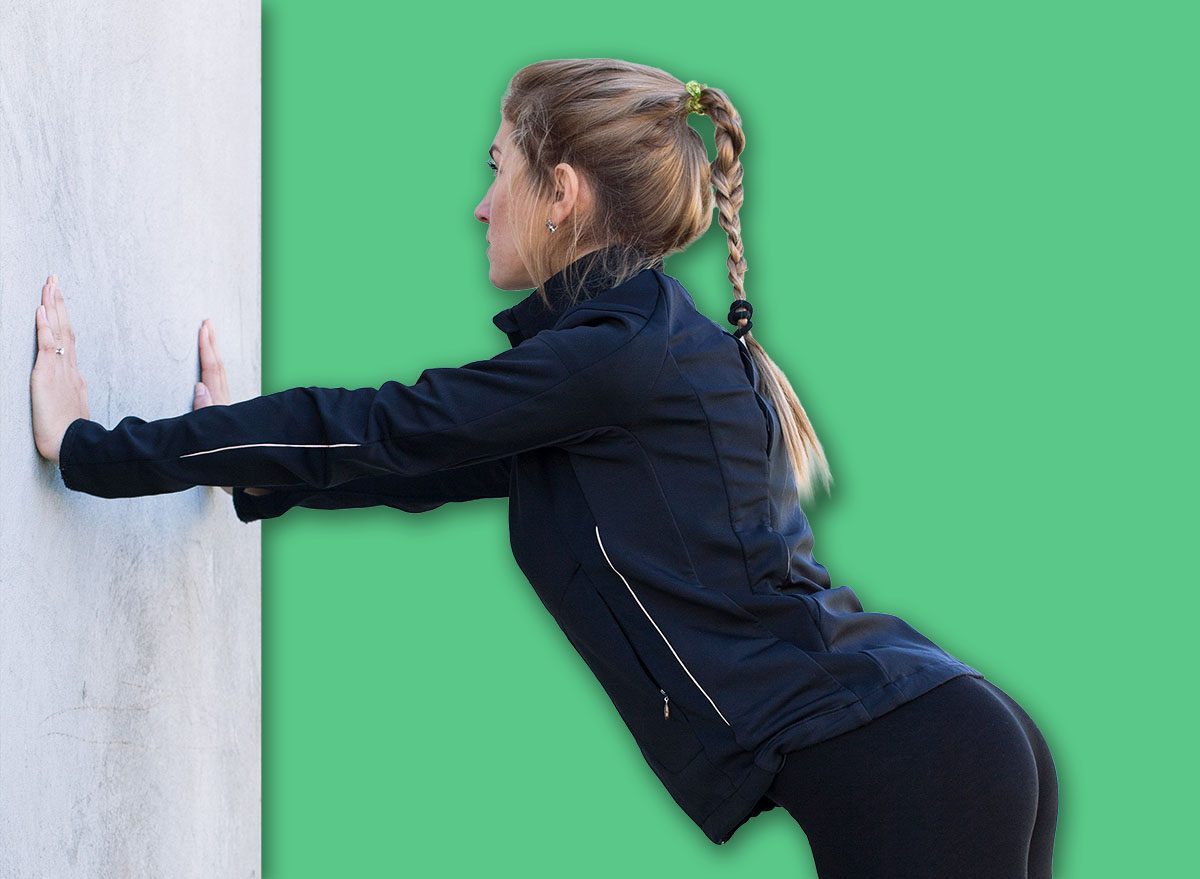
The wall push-up functions as an effective, accessible alternative to traditional floor push-ups. By utilizing a vertical surface, the exercise reduces the percentage of body weight supported by the upper body, making it a sustainable choice for those managing joint sensitivity. The primary muscles engaged include the pectoralis major (chest), deltoids (shoulders), and triceps, with the core muscles acting as stabilizers to maintain proper spinal alignment.
Proper form is the most critical factor for safety and efficacy. To perform the movement, stand facing a wall with feet hip-width apart. Place hands on the wall at chest height, slightly wider than shoulder-width. As you step your feet back to create a straight line from head to heels, engage your core and glutes. During the execution, bend the elbows to lower the chest toward the wall, keeping the body moving as a single, solid unit. Avoid allowing the hips to drift forward or the shoulders to shrug toward the ears.
A 10-Day Progressive Strength Plan
This 10-day challenge focuses on “time under tension” and gradual volume increases. Each session is designed to take only a few minutes, emphasizing deliberate, controlled movement over speed.
- Day 1: Establishing the Baseline. Perform 3 sets of 8 reps with 45 seconds of rest. Focus on finding a comfortable distance from the wall where the final two reps feel challenging but the form remains clean.
- Day 2: Incorporating Pauses. Perform 3 sets of 8 reps, holding for 1 second at the point closest to the wall to eliminate momentum and increase muscle activation.
- Day 3: Increasing Volume. Perform 3 sets of 10 reps, maintaining a rest interval of 45 to 60 seconds.
- Day 4: Tempo Control. Perform 3 sets of 8 reps, taking 3 full seconds to lower your chest toward the wall.
- Day 5: Adjusting the Angle. Perform 3 sets of 8 to 10 reps by moving your feet slightly farther from the wall to increase the load. If form degrades, step closer.
- Day 6: The Rep Ladder. Complete 2 to 3 rounds of the following sequence: 5 reps, 10-second rest, 6 reps, 10-second rest, 7 reps. Rest 60 seconds between rounds.
- Day 7: Enhanced Isometric Hold. Perform 3 sets of 6 to 8 reps with a 2-second pause at the bottom of each movement.
- Day 8: Close-Grip Variation. Perform 2 sets of 8 standard reps, followed by 2 sets of 6 close-grip reps (hands placed inside shoulder-width) to emphasize the triceps.
- Day 9: Combined Tempo and Volume. Perform 3 sets of 10 reps, maintaining a 2-second lowering phase for every repetition.
- Day 10: Strength Benchmark. Perform 2 rounds of: 10 standard reps, 6 pause reps, and 6 slow-tempo reps, with 30 seconds of rest between movements and 90 seconds between rounds.
Long-Term Progression and Safety
After completing the 10-day cycle, the goal is to integrate these movements into a regular routine, ideally two to four times per week. To continue building strength, consider small, incremental changes. Gradually increasing the distance of your feet from the wall alters the angle of resistance, while incorporating pauses or slower tempos keeps the exercise challenging without needing additional equipment.
If shoulder discomfort occurs, try adjusting the height of your hand placement or reducing the range of motion. As strength improves, you may eventually progress to a lower surface, such as a sturdy countertop or a bench. By focusing on consistent, deliberate practice, you can maintain upper-body health and functional strength well into your later years.
Keep reading