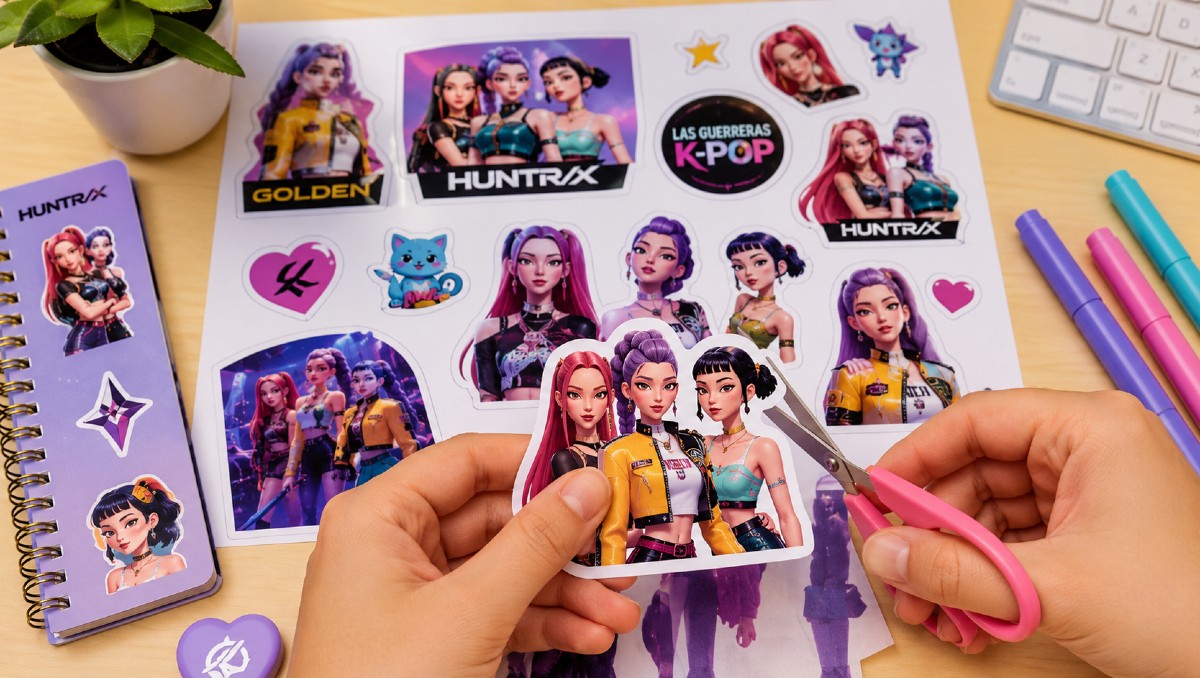
Fans of K-pop culture often seek creative ways to personalize their stationery, journals, and tech accessories with imagery of their favorite idols and groups. Creating custom stickers at home has become a popular DIY trend, allowing enthusiasts to design high-quality, personalized merchandise without the need for professional printing services. By utilizing standard home office equipment and accessible digital design tools, fans can produce professional-looking graphics featuring their preferred K-pop aesthetics.
The process of making stickers at home relies on three primary components: high-resolution digital imagery, specialized adhesive paper, and a reliable printing method. According to general consumer electronics guidelines, most modern inkjet printers are capable of handling sticker paper, provided the user adjusts the print settings to match the media type. This approach is frequently utilized by hobbyists to create fan-made art, often referred to as “fan-art” or “fan-merch,” which serves as a common way for the global K-pop community to engage with their favorite artists.
Materials and Tools for DIY Stickers
To begin the sticker-making process, you will need to gather the correct materials to ensure the final product is durable and visually clear. The most critical item is printable sticker paper, which is available in various finishes, including matte, glossy, and transparent. For those looking to protect their designs from moisture or smudging, a self-adhesive laminating sheet is often recommended by crafters to provide a protective barrier over the printed surface.
Beyond the paper, you will need a computer or tablet equipped with design software. While professional suites like Adobe Illustrator are powerful, many fans use accessible, user-friendly tools such as Canva, PicsArt, or even basic word processing software to arrange their images. According to technical documentation from major printer manufacturers like HP, selecting the “Best” or “High Quality” print mode in your printer settings is essential for achieving sharp, vibrant colors, especially when printing detailed graphic designs or photographs.
Designing and Printing Your Graphics
The quality of your stickers starts with the source material. When sourcing images, it is important to respect copyright laws and the intellectual property rights of the artists and their management agencies. Many fans choose to create original digital illustrations or collages to avoid infringement issues. Once your design is ready, arrange the images on a digital canvas that matches the size of your sticker paper—typically A4 or US Letter size.
Before committing to a full sheet, it is advisable to perform a test print on plain paper. This allows you to verify that the colors are accurate and that the images are correctly sized for your intended use. Once satisfied, load the sticker paper into your printer’s tray, ensuring the side intended for printing is facing the correct direction. For those using an inkjet printer, allow the ink to dry completely for several minutes before attempting to cut the stickers to prevent smearing, as noted in general user guides for home printing maintenance.
Cutting and Finishing Techniques
After printing, the final step is cutting the stickers. This can be done manually using a pair of sharp scissors or an X-Acto knife for a “die-cut” style, where the paper is cut to the exact shape of the design. For those who frequently make stickers, electronic cutting machines—such as those produced by Cricut or Silhouette—are often used to automate the process, allowing for precise, uniform cuts that would be difficult to achieve by hand.
If you have applied a laminating sheet over your design, ensure that the edges are pressed down firmly to create a seal. This prevents the sticker from peeling at the corners and increases its overall lifespan. When storing your finished stickers, keep them in a cool, dry place away from direct sunlight, which can cause colors to fade over time. These DIY methods offer a cost-effective alternative to purchasing official merchandise, allowing fans to express their support for their favorite groups through creative, personalized projects.
As the landscape of fan-made content continues to evolve, many creators share their tips and templates on social media platforms. For the latest updates on crafting trends and community-led DIY projects, fans often look to official fan club forums or verified social media channels associated with their favorite K-pop groups. If you have experience with these techniques, feel free to share your own tips in the comments below or join the conversation on our social media pages.
Related reading