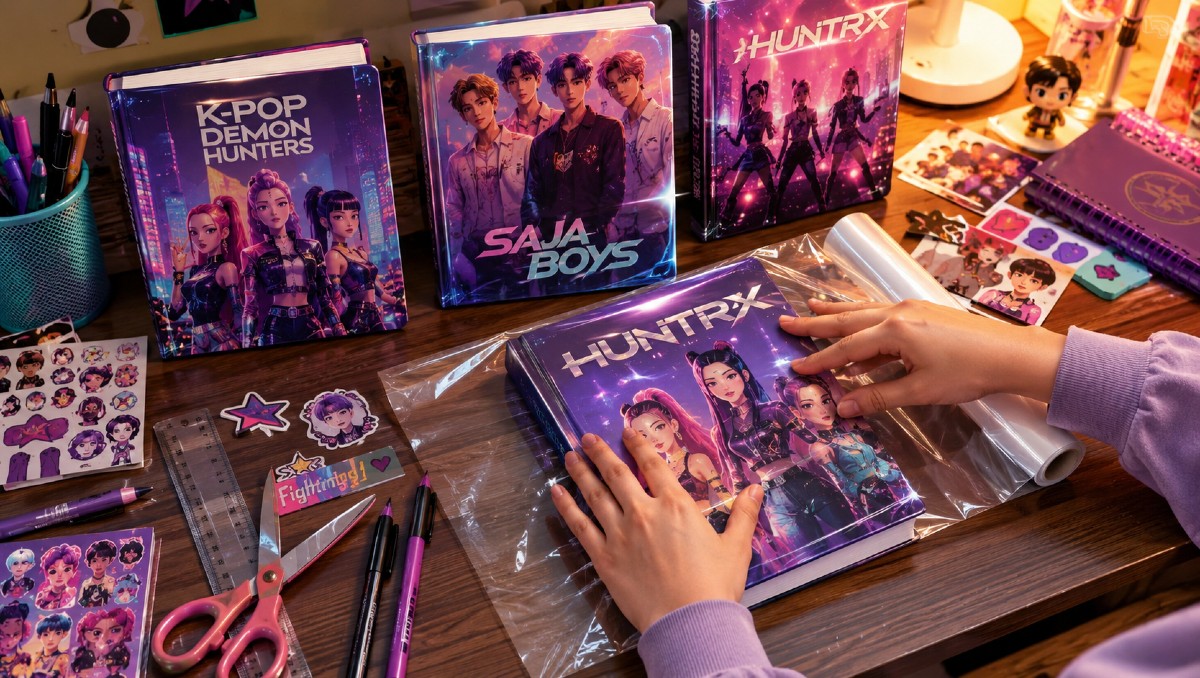
As the academic calendar rolls toward a fresh start, students and parents across the globe look for creative ways to personalize their school supplies, turning traditional book-covering rituals into vibrant artistic statements. One of the most prominent trends making waves for the new school year is inspired by the breakout aesthetic of K-Pop Demon Hunters, capturing the energetic graphic style of modern Korean pop culture mixed with action-oriented fantasy design. Preparing for classes means more than just stocking up on pens and notebooks; it involves safeguarding textbooks with durable materials while showcasing personal style through customized stationery projects.
For students and DIY enthusiasts eager to master the craft, transforming plain school books into custom collector items requires a few household essentials and careful execution. While standard brown paper or clear plastic covers have long protected school property from wear and tear, modern craft trends invite a fusion of high-gloss posters, fan art, and themed decorative paper. According to trending lifestyle and educational guides, personalizing study materials helps boost student engagement and organization as classrooms reopen for the upcoming term.
Mastering this precise craft project involves a step-by-step approach that balances aesthetic appeal with structural durability. Here is a detailed breakdown of how to prepare, measure, and secure custom school book covers using the dynamic K-Pop Demon Hunters visual theme, ensuring your texts survive the semester in style.
Gathering Materials and Measuring Your Textbooks
The foundation of any successful book-covering project begins with proper preparation and material selection. Before cutting any paper or vinyl, gather heavy-duty wrapping paper or printed cardstock featuring your favorite K-Pop Demon Hunters artwork, clear adhesive contact paper for lamination, sharp scissors, a metal ruler, a pencil, and double-sided tape. Precision is essential to ensure the cover fits snugly without obstructing the spine or tearing when the book opens and closes.
Start by laying your chosen decorative paper flat on a clean table surface. Place the textbook face down in the center of the sheet, opened fully to measure both the front and back covers simultaneously, accounting for the spine width. Use a ruler to mark a uniform border of approximately two to three inches around all four edges of the book. This excess margin is critical because it folds inward to create secure interior flaps that lock the cover in place without requiring permanent glue on the book itself.
Once you verify your measurements against the textbook dimensions, cut the paper cleanly along your pencil lines. If you are using standard poster paper rather than pre-laminated sheets, now is the time to apply a layer of clear contact paper over the printed design. This step prevents smudging, protects against accidental liquid spills, and gives the surface a polished, glossy finish reminiscent of official merchandise.
Folding and Securing the Custom Cover
With your custom-themed sheet cut to size, fold the paper in half horizontally to crease a clear center line that aligns with the book spine. Place the closed textbook precisely over this center guide. Fold the top and bottom excess margins inward, pressing firmly along the edges of the book covers to establish crisp, clean creases that match the exact height of the publication.
Next, slide the front cover of the book into the newly formed pocket created by the folded edge. Open the book slightly to smooth out any air bubbles trapped beneath the paper, ensuring the design lies completely flat against the cover. Repeat this process for the back cover, sliding the rear flap securely into the corresponding pocket. For added stability, use small strips of double-sided tape along the extreme inner corners of the top and bottom flaps, ensuring the paper stays anchored during daily transport in backpacks.
Verify that the book opens and closes smoothly without straining the spine or binding. A properly executed fold allows the front and back flaps to flex naturally, protecting the corners of the book from fraying while displaying the striking K-Pop Demon Hunters graphics in sharp detail. Take care not to tape the paper directly to the book’s original hardcover or softcover binding, as maintaining this separation ensures the protective layer can be easily removed or replaced at the end of the academic year.
Maintaining Your Custom School Supplies
Protecting your newly crafted book covers throughout a demanding school term requires minimal upkeep but consistent care. Because laminated paper resists moisture and light scuffs, a simple wipe down with a slightly damp microfiber cloth will remove everyday dust or fingerprints. Store books upright in lockers or backpacks equipped with padded laptop and book dividers to prevent bent corners and edge friction against heavier binders.
As school boards and educational institutions release updated academic calendars and supply guidelines for the upcoming terms, students can also adapt these crafting techniques to folders, binders, and journal notebooks. Checking official school portals ensures that your customized supplies continue to meet size requirements for specific coursework while letting your creativity shine.
Stay tuned to upcoming back-to-school style guides and educational supply updates as the new academic term approaches. Share your own crafting experiences, design tips, or questions in the comments section below to join the global conversation on creative student organization.