unlock iPhone‘s Hidden Clipboard: A Simple Trick to save Everything You Copy
Frustrated by the iPhone’s lack of a built-in clipboard history? You’re not alone. for years, Android users have enjoyed the convenience of accessing previously copied text and images. Now, you can replicate that functionality on your iPhone with a clever workaround using the Notes app, Shortcuts, and a handy feature called Back Tap.This isn’t a native solution, but it’s remarkably effective and will dramatically improve your copying and pasting workflow. Let’s dive in and get it set up.
Why You Need a Clipboard History on Your iPhone
Imagine this: you’re researching a project and copying snippets of information from various sources. Or perhaps you’re gathering addresses and phone numbers. Without a clipboard history, you’re forced to constantly switch back and forth, re-copying information you just used.
It’s inefficient and frankly,a little maddening. A clipboard history solves this problem, allowing you to access a log of everything you’ve copied, saving you valuable time and effort.
Setting Up Your iPhone Clipboard with Shortcuts and back tap
Here’s a step-by-step guide to creating your own clipboard history:
- Create a New Note: Open the Notes app and create a new,blank note. This will be your dedicated clipboard history storage. Give it a descriptive name like “Clipboard” or “Saved Copies.”
- Build the Shortcut:
Open the Shortcuts app.
Tap the “+” button to create a new shortcut.
Add the “Get Clipboard” action by searching for it in the action library.
Add the “Append to Note” action.Select the note you created in step one.
That’s it! Your shortcut is ready. Name it something simple like “Save to Clipboard.”
- Enable Back Tap:
Open the Settings app.
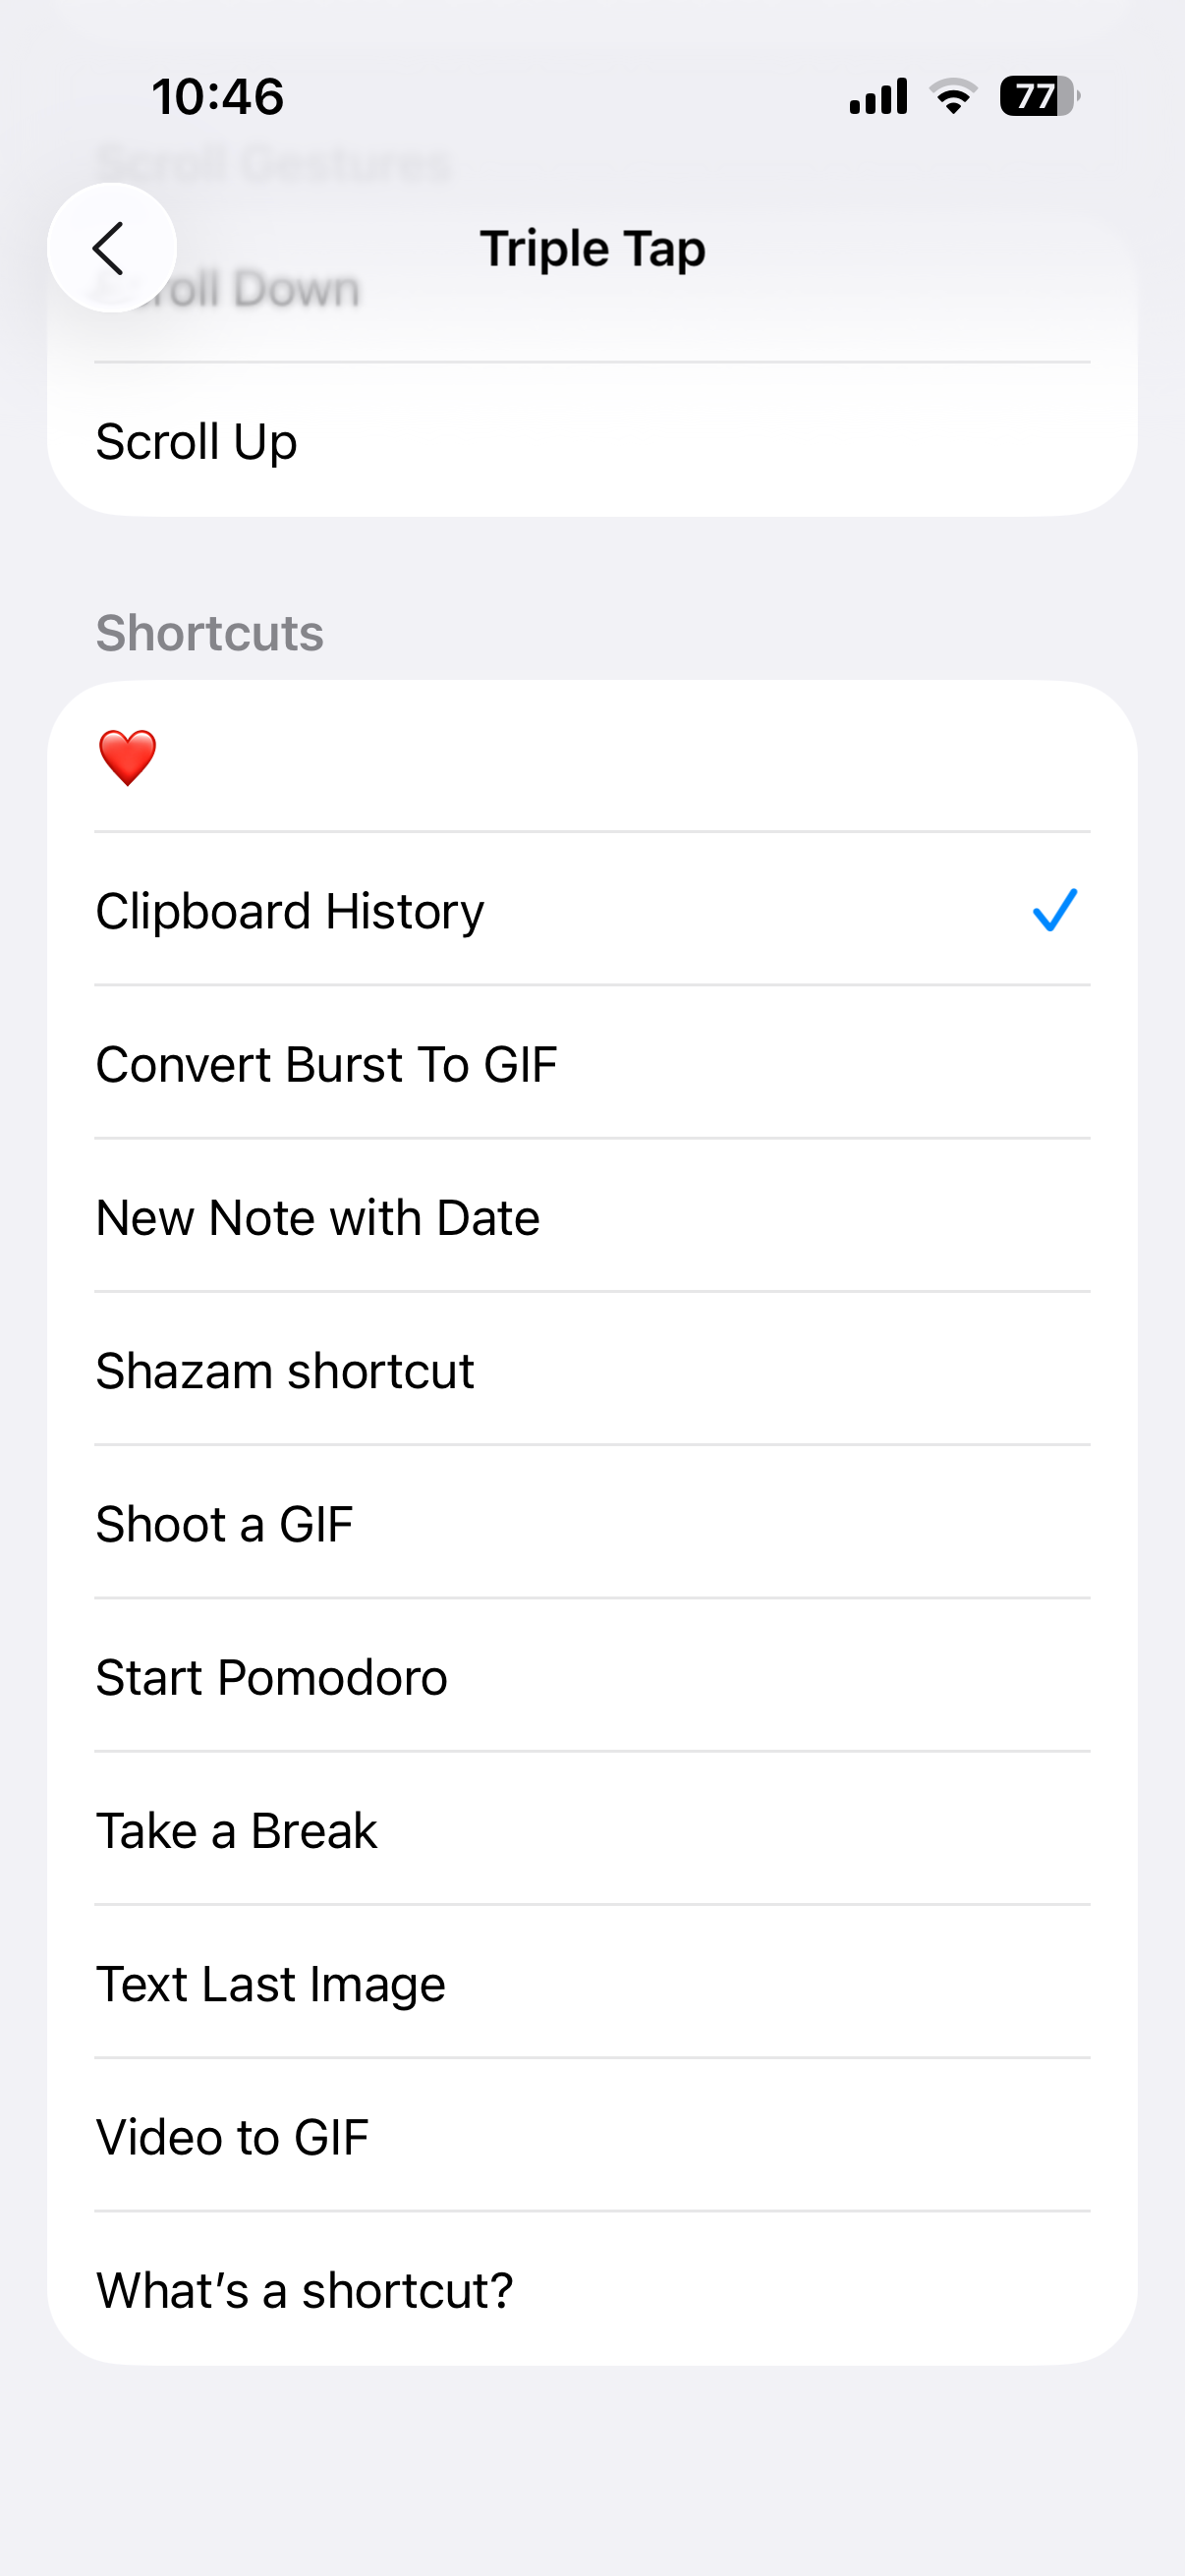
Navigate to Accessibility > Touch > back Tap.
Choose either “Double Tap” or “Triple Tap” (double tap is generally more convenient).
Select “Shortcuts” from the list.
Choose the “Save to Clipboard” shortcut you created.
!Triple Tap settings menu on iPhone
- Test it Out: Copy any text or image. Then, double or triple-tap the back of your iPhone (depending on your Back tap setting). You should see the copied item instantly appear in your designated Notes note.
Maximizing Your Clipboard workflow
Here are a few tips to get the most out of this setup:
Regularly Review and clean Up: Your clipboard note will accumulate content over time. Periodically review it and delete items you no longer need.
iCloud Sync is Key: Ensure iCloud sync is enabled for Notes.This will automatically sync your clipboard history across all your Apple devices – iPhone, iPad, and Mac.
* Consider Formatting: While this method captures the content, it doesn’t preserve formatting. for more complex formatting needs, you might explore third-party clipboard manager apps.
this workaround isn’t perfect, but it’s a remarkably effective solution to a long-standing iPhone limitation. It allows you to curate a personal clipboard history, saving you time and frustration.
While many suggest Apple should implement a native clipboard history feature, this method provides a powerful choice in the meantime. It’s a testament to the flexibility of iOS and the power of combining built-in features to create custom workflows. Give it a try – you might be surprised how quickly you come to rely on it.