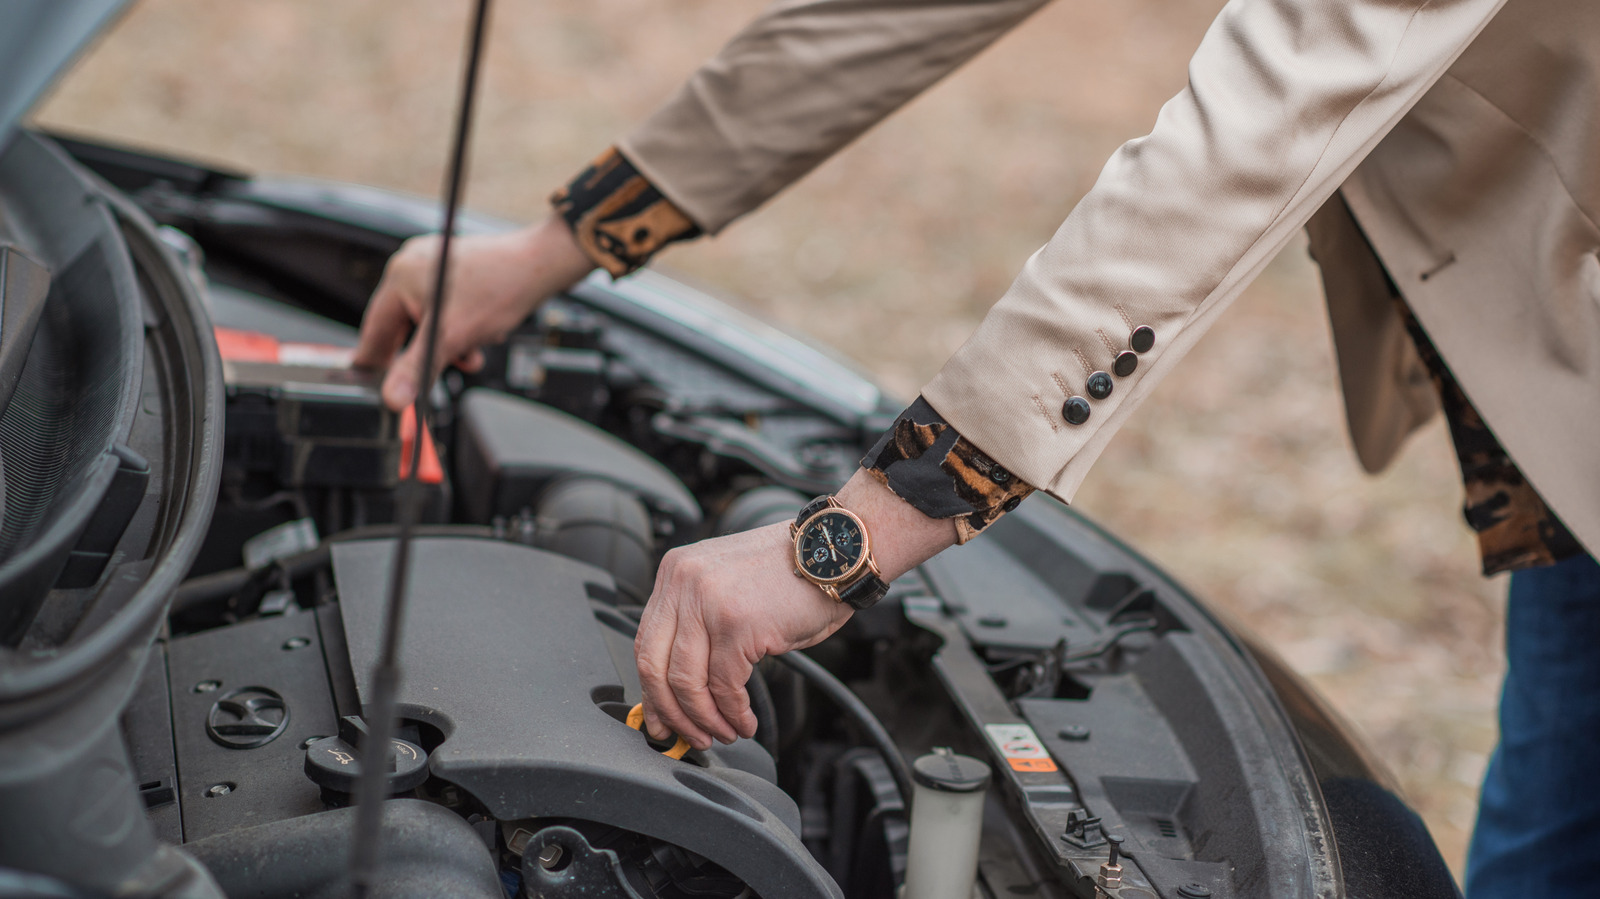
Owning a car is more than just mastering the road—it’s about understanding the machine that keeps you moving. While professional mechanics handle complex repairs, every driver can benefit from knowing basic car maintenance skills. These skills not only save money on labor costs but also help prevent breakdowns, extend your vehicle’s lifespan, and ensure safety on the road. As someone who bridges the gap between technology and everyday life, I’ve seen how a little knowledge can make a big difference. Whether you’re a new driver or a seasoned motorist, these eight essential car maintenance skills will empower you to take better care of your vehicle.
Car ownership comes with responsibilities beyond driving. Regular maintenance is the backbone of vehicle longevity, and while some tasks require professional expertise, others can be tackled with basic tools and a willingness to learn. According to the Consumer Reports, neglecting routine maintenance can lead to costly repairs—sometimes totaling thousands of dollars. By learning these skills, you’re not just saving money; you’re also gaining confidence in your ability to handle common issues before they escalate.
This guide isn’t about becoming a mechanic, but about equipping you with the knowledge to keep your car running smoothly. From checking fluids to replacing air filters, these skills are practical, cost-effective, and within reach for anyone willing to roll up their sleeves. Let’s dive into the eight basic car maintenance tasks every driver should know.
1. Checking and Topping Off Fluids
Fluids are the lifeblood of your car, and keeping them at the right levels is critical. Most modern vehicles require five primary fluids: engine oil, coolant, brake fluid, power steering fluid, and windshield washer fluid. Neglecting these can lead to engine damage, overheating, or even brake failure.
Start with the engine oil. Locate the dipstick (usually a yellow or orange handle near the engine), pull it out, wipe it clean, reinsert it, and then pull it out again to check the oil level. If it’s below the “Full” mark, add the recommended oil type (check your owner’s manual). Overfilling can be just as harmful as underfilling, so measure carefully.
Next, check the coolant level in the reservoir (usually a translucent white or orange tank near the radiator). Ensure it’s between the “Min” and “Max” marks. Never open the radiator cap when the engine is hot—wait until the engine has cooled to avoid burns.
Brake fluid and power steering fluid levels should also be checked periodically. These are typically located in small, black plastic reservoirs under the hood. If levels are low, top them off with the manufacturer-recommended fluid. For windshield washer fluid, simply fill the reservoir with the appropriate solution—especially before winter or long trips.
Pro tip: Use a flashlight to inspect these areas, especially in dimly lit garages. And always refer to your owner’s manual for specific fluid types and locations.
2. Changing the Air Filter
The air filter ensures clean air enters the engine, improving performance and fuel efficiency. A clogged filter can reduce your car’s power by up to 10% and increase fuel consumption. Replacing it is a simple task that typically takes less than 15 minutes.
Locate the air filter box, usually near the engine on the driver’s side. It’s a rectangular box with a clip or screws holding it in place. Open the box, remove the old filter (it’ll likely be covered in dust), and inspect it. If it’s dirty or clogged, it’s time for a replacement. Insert the new filter in the same orientation as the old one—most filters have an arrow pointing toward the engine.
Air filters are inexpensive (often under $20) and come in various types, including paper, cotton, and high-performance pleated filters. Check your owner’s manual for the correct part number. For most cars, replacing the air filter every 15,000 to 30,000 miles is recommended.
3. Replacing the Cabin Air Filter
While often overlooked, the cabin air filter ensures the air inside your car is clean, especially important for those with allergies or respiratory issues. A dirty cabin filter can circulate dust, pollen, and even mold into your vehicle’s interior.
To replace it, locate the cabin air filter box. In many cars, it’s behind the glove compartment or under the dashboard on the passenger side. Remove the glove compartment or access panel, then slide out the old filter. Insert the new one in the same direction as the airflow arrow (usually indicated on the filter housing). This task is quick and can significantly improve air quality in your car.
Cabin air filters should be replaced every 15,000 to 25,000 miles, or more frequently if you drive in dusty or polluted areas.
4. Inspecting and Replacing Tires
Tires are your car’s only contact with the road, making their condition critical for safety and performance. Regularly checking tire pressure, tread depth, and overall condition can prevent blowouts and improve fuel efficiency.
Start with tire pressure. Use a reliable gauge to check all four tires, including the spare, when they’re cold (before driving). The correct PSI is usually listed on a sticker inside the driver’s door jamb or in the owner’s manual. Underinflated tires wear faster and reduce gas mileage, while overinflated tires can lead to uneven wear and poor handling.
Next, inspect the tread depth. Use the “penny test”: insert a penny into the tread with Lincoln’s head upside down. If you can see the top of his head, the tread is too worn, and it’s time for new tires. The legal minimum tread depth in most countries is 1.6mm, but for optimal safety, aim for 3mm or more.
Finally, check for signs of uneven wear, bulges, or embedded nails. Rotate your tires every 5,000 to 7,500 miles to promote even wear, and replace them when they reach the end of their lifespan (typically 60,000 to 100,000 miles, depending on driving conditions).
5. Jump-Starting a Dead Battery
A dead battery is a common issue, but knowing how to jump-start your car can save you from a costly tow. Here’s how to do it safely:
- Gather tools: A set of jumper cables, a working vehicle with a fine battery, and safety glasses.
- Position the vehicles: Park the working car close enough for the cables to reach but avoid touching the vehicles.
- Turn off all lights and electronics: In both cars to prevent electrical surges.
- Connect the cables:
- Red clamp to the dead battery’s positive (+) terminal.
- Other red clamp to the working battery’s positive (+) terminal.
- Black clamp to the working battery’s negative (-) terminal.
- Last black clamp to an unpainted metal surface on the dead car’s engine block (not the battery).
- Start the dead car: Try starting it within a few minutes. If it doesn’t start, wait 5–10 minutes and try again.
- Disconnect the cables: Reverse the order of connection to avoid sparks.
If your battery won’t hold a charge, it may need replacement. Most car batteries last 3–5 years, but extreme temperatures can shorten their lifespan.
6. Changing a Tire
Flat tires happen, and knowing how to change one can be a lifesaver—especially in remote areas. Here’s a step-by-step guide:
- Find a safe location: Pull over to a flat, stable surface away from traffic.
- Engage the parking brake: And turn on your hazard lights.
- Loosen the lug nuts: Use the lug wrench to turn them counterclockwise (but don’t remove them yet).
- Jack up the car: Place the jack under the vehicle’s designated lift point (check your owner’s manual). Lift until the flat tire is off the ground.
- Remove the lug nuts: Fully unscrew them and set them aside.
- Take off the flat tire: Pull it straight toward you to remove it from the wheel.
- Mount the spare: Align the spare tire with the wheel studs and push it on.
- Reattach the lug nuts: Hand-tighten them in a star pattern.
- Lower the car: Use the jack to lower the vehicle until the tire touches the ground.
- Tighten the lug nuts: Use the wrench to secure them fully in a star pattern.
- Stow the flat tire and tools: And drive carefully to a repair shop to have the flat tire fixed or replaced.
Always carry a spare tire, jack, and lug wrench in your trunk. Remember, spare tires are temporary—drive at lower speeds (under 50 mph) and avoid long distances.
7. Replacing Windshield Wipers
Windshield wipers are often taken for granted until they streak or fail during a rainstorm. Replacing them is a quick and inexpensive task that improves visibility and safety.
Most wipers attach with a simple hook-and-lock mechanism. Lift the wiper arm away from the windshield, then press the small tab on the wiper blade to release it. Slide the old blade off and attach the new one by aligning the hook with the arm’s latch. Press down firmly until you hear a click. Repeat for the other wiper.
Windshield wiper blades typically last 6–12 months, depending on usage and weather conditions. For heavy rain or snow, consider investing in high-quality rubber or silicone blades.
8. Rotating Tires for Even Wear
Tires wear unevenly due to factors like alignment issues, driving habits, and vehicle weight distribution. Rotating your tires every 5,000 to 7,500 miles promotes even wear, extending their lifespan and improving handling.
To rotate your tires, follow these general guidelines (always refer to your owner’s manual for specific patterns):
- Front-wheel-drive cars: Move the front tires to the rear in a straight position, and move the rear tires to the front in a crossed position.
- Rear-wheel-drive cars: Move the front tires to the rear in a crossed position, and move the rear tires to the front in a straight position.
- All-wheel-drive/Four-wheel-drive cars: Follow the manufacturer’s recommended pattern, which may involve moving tires side-to-side or front-to-rear.
After rotating, recheck the tire pressure and ensure the lug nuts are tight. This simple task can save you hundreds of dollars in premature tire replacements.
Key Takeaways
- Fluids matter: Regularly check and top off engine oil, coolant, brake fluid, power steering fluid, and windshield washer fluid to prevent costly damage.
- Air filters improve performance: Replace both the engine air filter and cabin air filter every 15,000–30,000 miles for better fuel efficiency and air quality.
- Tires are non-negotiable: Monitor tire pressure, tread depth, and overall condition to ensure safety and optimal performance.
- Know basic emergencies: Jump-starting a battery and changing a tire are skills that can save you time, money, and stress.
- Small tasks add up: Replacing windshield wipers and rotating tires are quick tasks with long-term benefits.
- Consult your manual: Always refer to your owner’s manual for specific instructions tailored to your vehicle.
Why Maintenance Matters
Regular car maintenance isn’t just about avoiding breakdowns—it’s about preserving your car’s value, improving safety, and extending its lifespan. According to Car Care Council, proper maintenance can save drivers thousands of dollars over a vehicle’s lifetime. It also ensures your car meets safety standards and performs optimally.

For those who prefer professional help, many auto parts stores and service centers offer free inspections and maintenance checks. Some even provide step-by-step guides or video tutorials for DIYers. The key is to stay proactive—addressing small issues before they become major problems.
As technology advances, cars are becoming more complex, but the basics of maintenance remain the same. Whether you’re working on a classic car or the latest electric vehicle, these skills will serve you well.
Frequently Asked Questions
How often should I perform basic car maintenance?
Most basic tasks, like checking fluids and replacing air filters, should be done every 3,000–5,000 miles or as recommended in your owner’s manual. Tire rotations and inspections should occur every 5,000–7,500 miles.
Do I need special tools for these tasks?
Most basic maintenance tasks require only a few common tools: a jack, lug wrench, screwdriver, pliers, and a socket set. A basic toolkit can be purchased for under $50 and will cover most DIY tasks.
What if I’m not confident in performing these tasks?
That’s perfectly understandable! Many auto parts stores and service centers offer free inspections and can guide you through basic maintenance. You can also watch video tutorials on platforms like YouTube for step-by-step instructions.
How do I know if my car needs professional maintenance?
If you encounter issues like unusual noises, warning lights on the dashboard, or persistent leaks, it’s best to consult a professional mechanic. These could indicate more complex problems that require specialized tools and expertise.
Next Steps: Staying Informed and Safe
The automotive industry is constantly evolving, with new technologies and maintenance recommendations emerging regularly. To stay ahead, follow reputable sources like the Consumer Reports, Car Care Council, and your vehicle manufacturer’s official website for updates on recalls, maintenance tips, and safety advisories.
consider investing in a diagnostic tool like an OBD-II scanner to monitor your car’s health. These devices can alert you to potential issues before they become serious, giving you time to address them proactively.
As a technology journalist, I’ve seen firsthand how a little knowledge can transform the way people interact with their vehicles. Whether you’re a tech-savvy driver or just starting out, these basic car maintenance skills will give you the confidence to tackle common issues and keep your car running smoothly for years to come.
Have you tried any of these maintenance tasks? Share your experiences or tips in the comments below, and don’t forget to share this guide with fellow drivers who might find it helpful. Stay safe on the road!
Worth a look