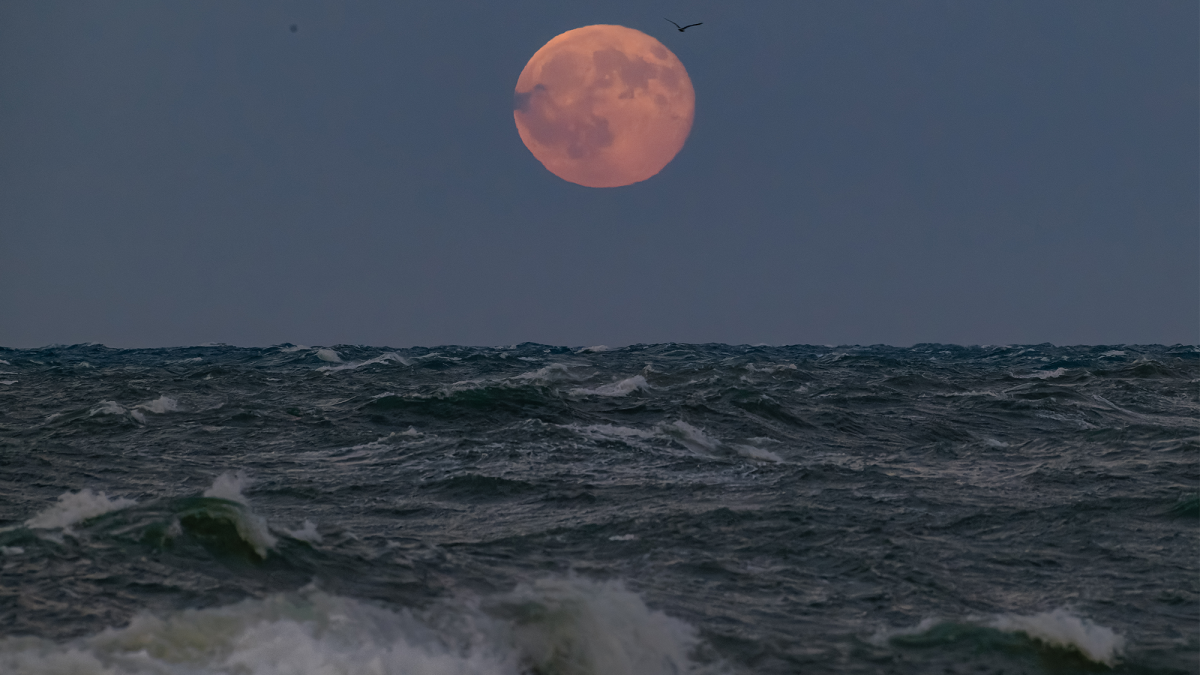
Capture the Moon‘s Majesty: A Guide too Astrophotography
Dreaming of breathtaking lunar photos? You don’t need expensive equipment or years of experience to capture stunning images of the moon. This guide will walk you through the essential techniques to transform your photos from snapshots to showstoppers.
Understanding the Challenge
Photographing the moon presents unique hurdles.It’s a small, radiant object against a vast, dark background. Your camera’s automatic settings often struggle with this contrast, leading to overexposed, washed-out images. But don’t worry, with a few adjustments, you can overcome these challenges.
Essential Equipment
While a dedicated telescope and specialized camera are ideal, you can achieve fantastic results with equipment you likely already own. Here’s what you’ll need:
* A camera with manual settings: DSLRs, mirrorless cameras, and even many advanced smartphones offer the control necessary for lunar photography.
* A telephoto lens: The longer the focal length, the larger the moon will appear in your frame. Aim for at least 200mm, but 300mm or more is preferable.
* A sturdy tripod: essential for sharp images, especially with long lenses. Even slight movements can cause blur.
* A remote shutter release (optional): Minimizes camera shake when pressing the shutter button.
Mastering Your Camera Settings
These settings are your key to a well-exposed, detailed lunar image.
* Shoot in Manual Mode (M): This gives you complete control over aperture, shutter speed, and ISO.
* Aperture: Start around f/8 to f/11 for good sharpness across the image.
* Shutter Speed: Begin with a fast shutter speed – 1/250th of a second is a good starting point. Adjust as needed to achieve proper exposure.
* ISO: Keep your ISO as low as possible (typically ISO 100 or 200) to minimize noise.
* Focus: manual focus is crucial. Use live view and zoom in on the moon’s surface to achieve pinpoint sharpness.
* White Balance: Set your white balance to “Daylight” or ”Sunny” for natural colors.
Composition Tips for Impact
A well-composed image draws the viewer in. Consider these techniques:
* Rule of Thirds: Position the moon off-center, along one of the imaginary lines that divide your frame into thirds.
* Include Foreground Elements: Trees, buildings, or mountains can add scale and interest to your shot.
* Consider the Moon Phase: Different phases offer unique visual appeal. A crescent moon,a full moon,or even a gibbous moon each have their own charm.
* Experiment with Framing: Try different compositions to see what works best.
Post-Processing for Polished Results
Post-processing can enhance your lunar images.
* Sharpening: Slightly sharpen the image to bring out details.
* Contrast Adjustment: Increase contrast to make the moon’s features pop.
* Noise Reduction: If necessary, reduce noise, especially if you shot at a higher ISO.
* Color Correction: Fine-tune the colors to achieve a natural look.
Beyond the Basics: Exploring Advanced Techniques
Once you’ve mastered the fundamentals, you can explore more advanced techniques.
* Stacking: Combining multiple images to reduce noise and increase detail.
* Lunar Landscapes: Capturing the moon rising or setting over a landscape.
* Time-Lapse Photography: Creating a video showing the moon’s movement across the sky.
I’ve found that patience and experimentation are key to successful lunar photography. Don’t be afraid to try
Worth a look