Embracing the Challenge: Yoga, Difficulty, and the Path to Handstand Mastery
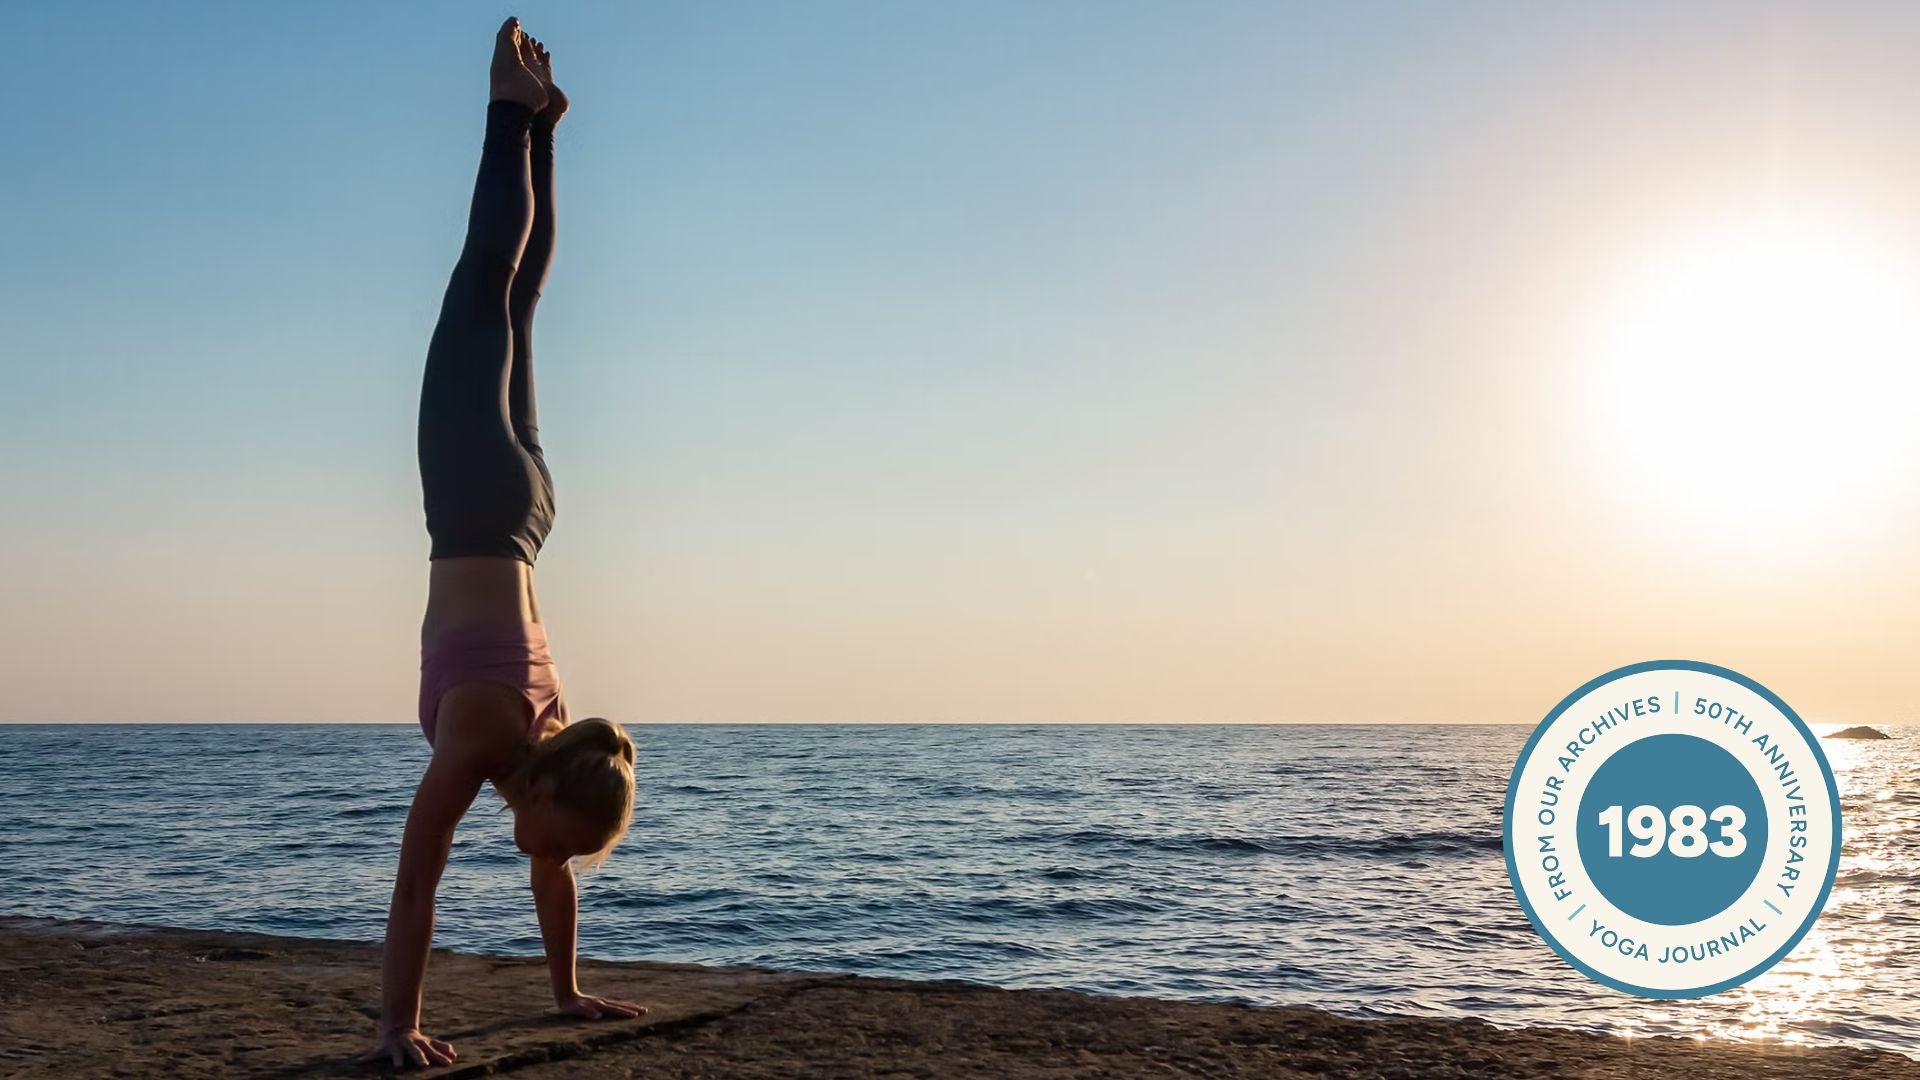
(Image: A serene yet strong yogi gracefully holding a handstand, demonstrating proper alignment.Photo credit: Yoga Journal)
Yoga is often presented as a path to peace and tranquility, but true growth isn’t found in comfort. It’s in the challenge – whether it’s navigating a complex asana like Handstand (Adho Mukha Vrksasana) or confronting a difficult life situation – that we truly practice yoga wiht clarity and unlock our potential. This isn’t about seeking hardship,but about recognizing difficulty as an invaluable teacher.
The beauty of yoga lies in its mirroring effect. A challenging pose immediately reveals where we need to release tension and where we need to cultivate strength. Similarly, when life throws us off balance, it illuminates our attachments, limiting beliefs, and areas ripe for personal growth. This process of identifying and releasing these blocks is fundamental to the yogic journey.Difficulty isn’t an obstacle to yoga; it is yoga in action – a potent chance to improve, transcend limitations, and move closer to our fullest selves. At its core, yoga is about liberation, and liberation requires confronting and moving beyond what holds us back.
This article will explore this beliefs, then provide a detailed, safe, and progressive guide to mastering Handstand, a pose that embodies both physical and mental challenge. We’ll cover planning, technique, common pitfalls, and crucial safety considerations, drawing on years of experience teaching and practicing this transformative asana.
Understanding Handstand: More Than Just Strength
Handstand isn’t simply about upper body strength. it’s a full-body integration requiring core stability, precise alignment, body awareness, and a healthy dose of courage. Attempting it without proper preparation and understanding can lead to injury and frustration. This guide emphasizes a mindful,progressive approach,respecting individual timelines and limitations.
A Step-by-Step Guide to Handstand (Adho Mukha Vrksasana)
Prerequisites: Before attempting Handstand, a consistent yoga practice of at least six months is recommended. You should comfortably hold Plank Pose for 60 seconds, have a solid understanding of core engagement, and possess adequate shoulder and wrist mobility. If you have any pre-existing conditions (see “contraindications” below),consult with your doctor and a qualified yoga instructor.
Phase 1: Building the foundation – Wall Work
This phase focuses on developing the necessary strength and body awareness in a supported environment.
- Warm-up: Begin with a dynamic warm-up including wrist circles,shoulder rotations,cat-cow stretches,and planks.
- Wall Walks: Face the wall and place your hands shoulder-width apart, approximately six inches away from the base of the wall. Fingertips should point directly towards the wall. Walk your feet up the wall,one step at a time,until your body forms an inverted “L” shape.
- Alignment Focus: This is crucial.
* Spinal Column: Maintain a straight line from hands to heels. Avoid collapsing the lower back.
* Ribcage: Gently draw your lower ribs inward to prevent over-arching the lumbar spine (see image below – avoid the position in Figure 3 from the original text). Imagine gently hugging your navel towards your spine.
* Shoulders: Actively press the floor away, broadening across the upper back. Avoid shrugging towards your ears.
(Image: Illustration demonstrating correct handstand alignment against a wall – straight spine,engaged core,shoulders actively pressing the floor.)
- Hold & Breathe: Hold this position for 30-60 seconds, focusing on deep, even breathing.
- Progression: Gradually increase the duration of the hold as your strength and comfort level improve.
Phase 2: Developing Control – Kick-Up Preparation
this phase introduces the dynamic movement of kicking up, while still maintaining a safe and controlled environment.
- Starting Position: Place your hands six inches from the wall, as before. One foot should be forward (the “push” leg) and the other back (the “swing” leg), approximately 18-24 inches apart, adjusting for leg length.
- Weight Distribution: shift your weight forward, over your fingertips. This minimizes rocking during the kick-up. Think of creating a strong tripod with your hands and the ball of your push foot.
- The kick-Up: With an exhalation, powerfully push off with your push
Worth a look