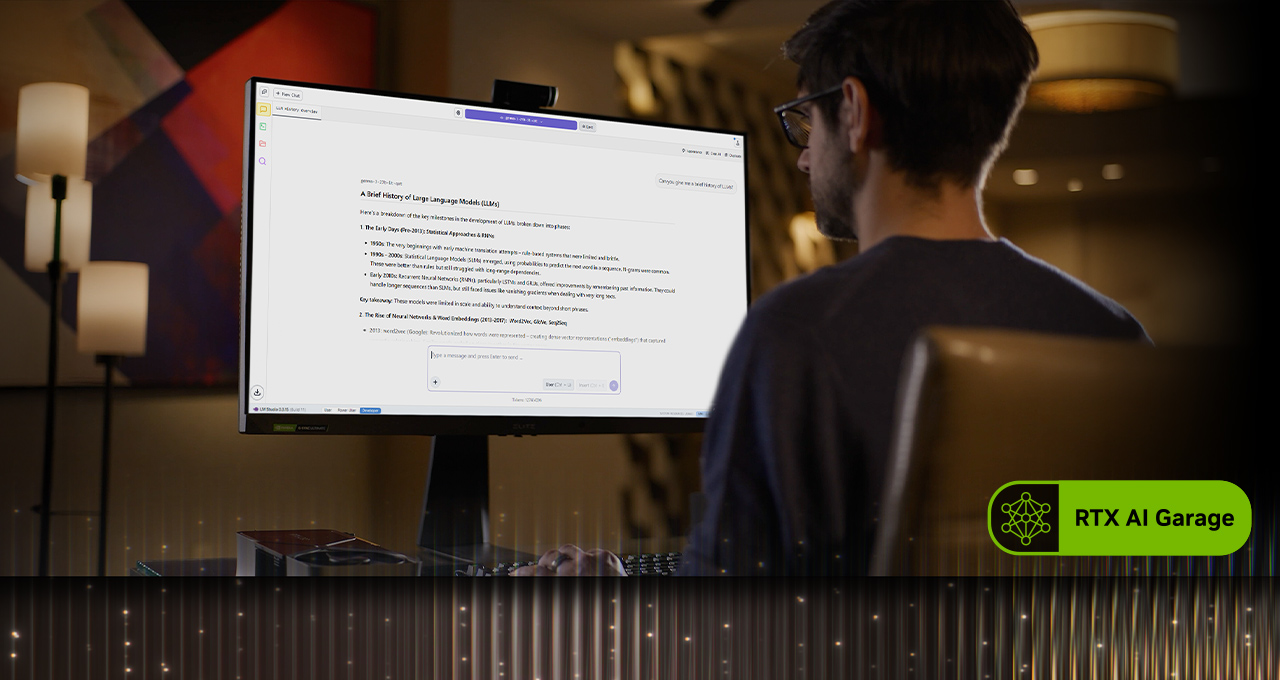
Unleashing the Power of AI on Your RTX PC: A Complete Guide
recent advancements are dramatically accelerating the AI experiance on RTX-powered PCs. You’re now able to tap into significantly improved performance, streamlined workflows, and exciting new capabilities right on your desktop. This guide will walk you through the latest developments and how to leverage them.
Performance Boosts Across the Board
Several key areas have seen considerable improvements, making your RTX PC an even more potent AI machine. Let’s explore them:
* Ollama Optimization: Ollama, a popular framework for running large language models locally, now delivers a major performance increase on RTX GPUs. You’ll experience faster speeds with models like OpenAI’s gpt-oss-20B and the Gemma 3 family.
* Llama.cpp & GGML Enhancements: updates to Llama.cpp and GGML bring faster, more efficient AI inference to your RTX GPU.This includes support for the NVIDIA Nemotron Nano v2 9B model, along with default Flash Attention and CUDA kernel optimizations.
* Project G-Assist Updates: The latest G-Assist v0.1.18 update, available through the NVIDIA App, introduces new commands specifically for laptop users and refined answer quality.
Streamlined AI Deployment with Windows ML & TensorRT
Microsoft’s release of Windows ML with NVIDIA TensorRT for RTX is a game-changer. It delivers up to 50% faster inference speeds, simplifies deployment, and supports a wide range of models, including large language models and diffusion models, directly on Windows 11.This means you can run sophisticated AI applications with greater ease and efficiency.
NVIDIA Nemotron: Fueling AI innovation
NVIDIA Nemotron is a powerful collection of open models, datasets, and techniques. It’s driving innovation in AI,enabling advancements in generalized reasoning and specialized applications across various industries. You can explore the possibilities and contribute to this growing ecosystem.
Getting Started with Custom Functionalities
Want to build your own AI-powered tools on your RTX PC? Here’s a breakdown to get you started:
1. Choose your Framework:
* TensorFlow: A widely used, versatile framework for machine learning and deep learning.
* PyTorch: Known for its dynamic computation graph and Python-friendly interface.
* ONNX Runtime: Enables you to run models trained in various frameworks with optimized performance.
* Llama.cpp: Specifically designed for running large language models efficiently on cpus and gpus.
2.Install Necessary Tools:
* CUDA toolkit: NVIDIA’s platform for GPU-accelerated computing. Download and install the version compatible with your GPU and framework.
* cuDNN: NVIDIA’s deep neural network library, providing optimized primitives for deep learning.
* Python: The dominant language for AI development.
* Your chosen Framework: Install TensorFlow, PyTorch, or ONNX Runtime using pip or conda.
3. Sample Plug-ins & Projects:
* Image Classification: Build a simple image classifier using TensorFlow or PyTorch.Numerous tutorials are available online.
* Text Generation: Experiment with generating text using a pre-trained language model like GPT-2 or a smaller model from the Nemotron collection.
* Object Detection: Implement object detection using a pre-trained model like YOLO or SSD.
* Style Transfer: Apply the style of one image to another using neural style transfer techniques.
4. Step-by-Step Example: Simple TensorFlow Image Classification
Let’s outline a basic TensorFlow image classification example:
- Import TensorFlow:
import tensorflow as tf - Load a pre-trained Model:
model = tf.keras.applications.MobileNetV2(weights='imagenet') - Load and Preprocess an Image: use
tf.keras.preprocessing.imageto load and resize your image. - Make a Prediction: `predictions = model.