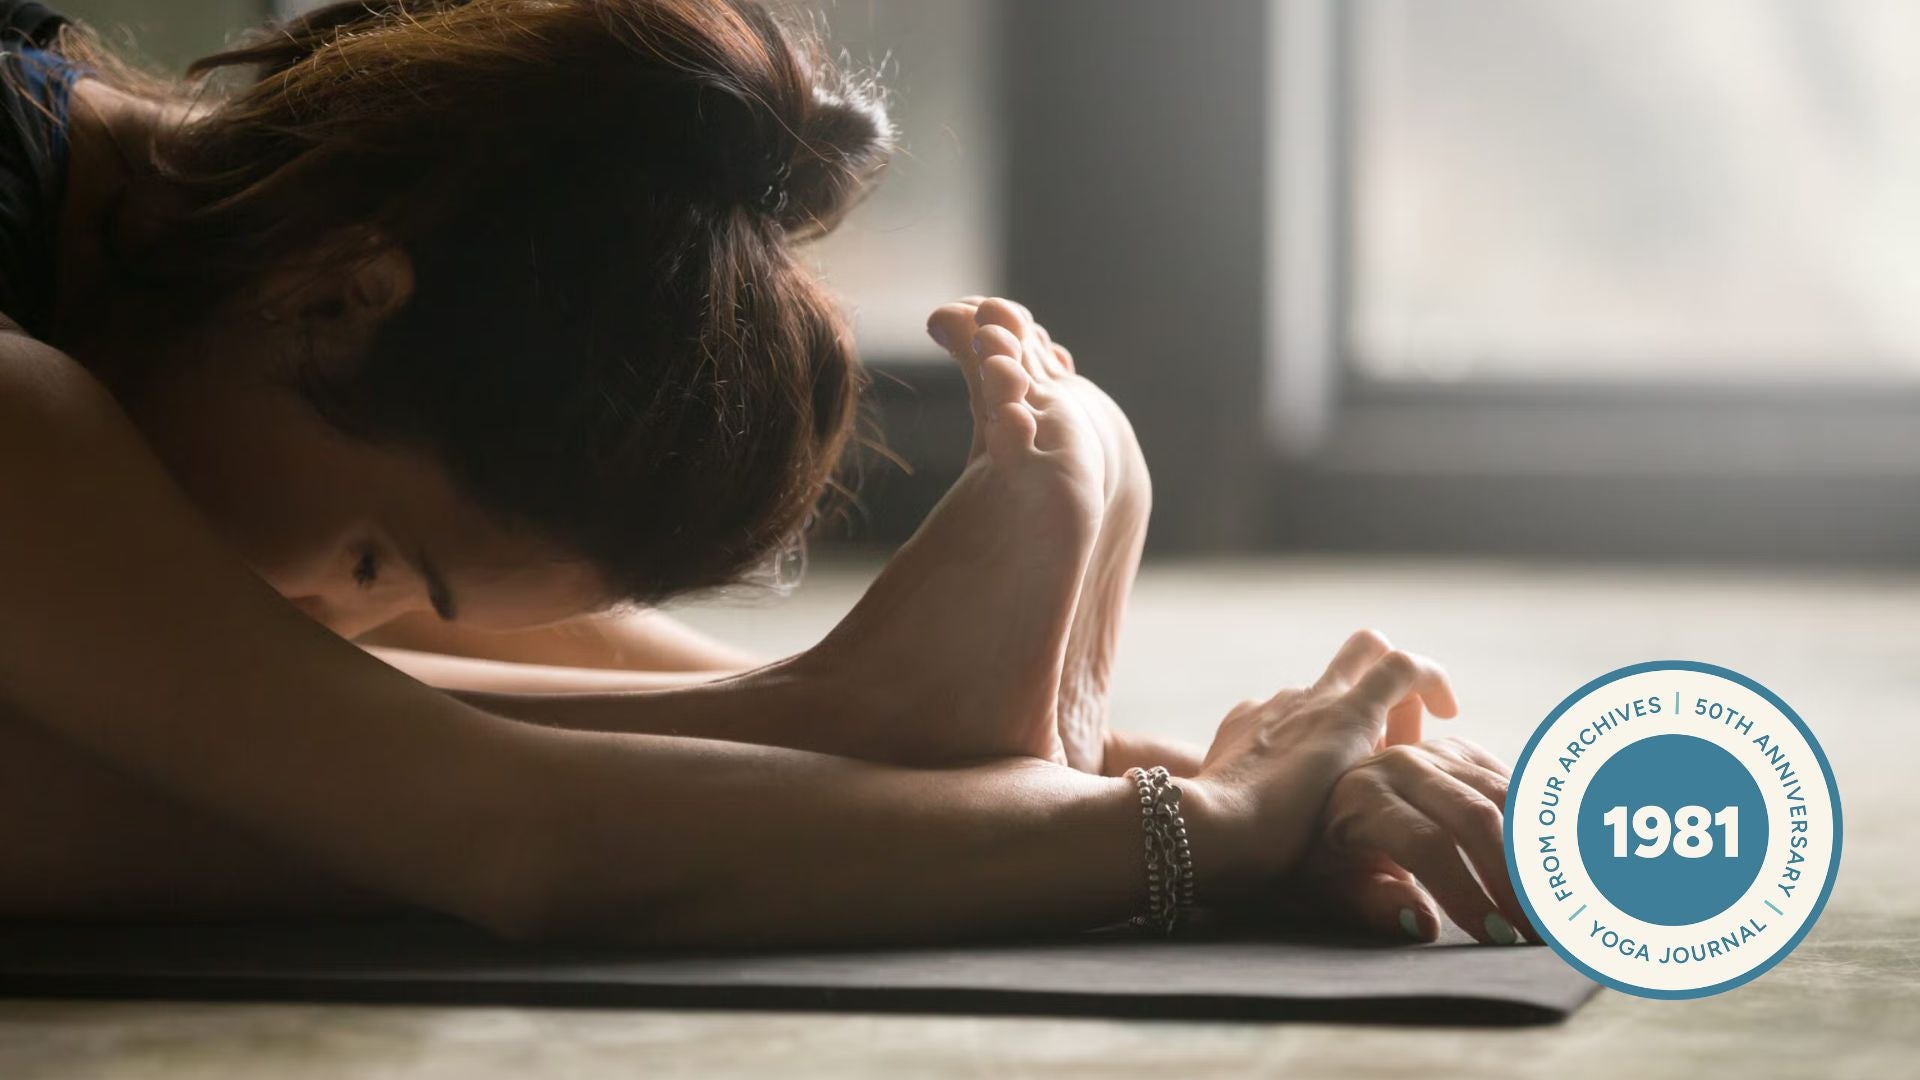
Mastering Paschimottanasana: A Complete Guide to the Seated Forward Bend
Paschimottanasana, or the Seated Forward Bend, is a deceptively simple pose with profound benefits. Often attempted without proper technique, it frequently misses its core purpose: a gentle, even stretch along the spine and hamstrings. This guide, informed by decades of yoga practice and the teachings of B.K.S. Iyengar, will help you unlock the full potential of this restorative asana.
Why Proper Form Matters
Many practitioners mistakenly focus on touching their toes, leading to rounding of the back and minimal hamstring engagement. The true benefit of Paschimottanasana lies in maintaining a straight spine and initiating the bend from the hips. This approach evenly stretches the back muscles and hamstrings, maximizing the pose’s therapeutic effects.
Beyond the physical, Iyengar noted Paschimottanasana can promote mental calmness and even offer respite for the heart. this is linked to the pose’s influence on gravity and its impact on the nervous system.
Getting Started: Step-by-Step Instructions
Here’s how to approach Paschimottanasana correctly:
- Start Seated: Sit on the floor with your legs extended straight out in front of you. Ensure your spine is erect and your feet are flexed (toes pointing upwards).
- firm Your Knees: This is crucial! Actively engage your thigh muscles, keeping your knees firm and preventing them from bending.
- Inhale & lift: Take a deep breath and lengthen your spine upwards, imagining a string pulling you from the crown of your head.
- Exhale & Fold: As you exhale,gently hinge forward from your hips,maintaining the straight spine as much as possible.
- Listen to Your Body: If you feel a release in your hamstrings, you’ll naturally move forward. If not, breathe deeply and try again on the next exhale. Avoid forcing the movement.
- Hold & Breathe: Once you reach your limit,hold the pose for several minutes,focusing on deep,even breaths.
- Return slowly: Inhale and slowly rise back to a seated position, extending your spine upwards before moving on.
Modifications for All Levels
Paschimottanasana is accessible to everyone with a few adjustments.
For Beginners:
* Use a Belt or Strap: Loop a belt around your feet and hold onto the ends. This allows you to maintain a straight spine while gradually increasing the stretch.
* Blanket Support: Place a folded blanket under your sit bones to gently tilt your pelvis forward, encouraging spinal extension.
* Focus on Spinal Alignment: Prioritize keeping your back straight over how far you can reach. Ensure the fronts of your shins are pointing towards the floor, avoiding a rounding of the back.
For Experienced Practitioners:
* Hand Placement Variations: Experiment with different hand positions around your feet – wider or narrower grips can alter the stretch.
* Extended hold (Savasana-like): Hold the pose for 5-15 minutes, allowing it to become a deeply restorative practice akin to Savasana (Corpse pose).
* Heel Support: Place a blanket under your heels to intensify the stretch in the back of your knees. Caution: This variation is not recommended if you have hyperextended knees, as it can exacerbate looseness.
Common Mistakes to Avoid
* Rounding the Back: This defeats the purpose of the pose and can strain your lower back.
* Forcing the Stretch: Listen to your body and only go as far as is comfortable.
* Bending the Knees: maintaining firm knees is essential for proper hamstring engagement.
* Holding Your Breath: Breathe deeply and evenly throughout the pose.
The Legacy of B.K.S. Iyengar
The principles outlined here are deeply rooted in the teachings of B.K.S. Iyengar, a renowned yoga master. His emphasis on precise alignment, the use of props, and the importance of holding poses for extended periods has revolutionized modern yoga practice. As Iyengar himself wrote in Light on Yoga, Paschimottanasana offers benefits beyond the physical, impacting both mental and emotional
Related reading