Apple Simplifies M5 MacBook Pro 14-inch Battery Replacement: A Deep Dive into the Self service Repair Program
is your 14-inch M5 MacBook Pro battery losing its charge faster than usual? concerned about the cost and hassle of professional repair? Apple has listened, and recent changes to its Self Service Repair program are making battery replacements considerably easier – and more accessible – for owners of the latest MacBook Pro. This article provides a comprehensive guide to the updated process,costs,required tools,and everything you need to no about tackling this repair yourself.
The Challenge of MacBook Pro Battery Repair – Historically
For years, Apple’s approach to MacBook Pro repair, notably battery replacements, has been a point of contention. Previously, replacing the battery in the 14-inch M5 MacBook Pro wasn’t a simple swap. It required dismantling a ample portion of the device, swapping out multiple modules alongside the battery itself. This complexity made DIY repairs daunting, even for experienced tech enthusiasts, and often pushed users towards expensive professional services. iFixit‘s October 2025 teardown highlighted this, pinpointing battery replacement as a major repairability hurdle, noting the extensive 14 disassembly and 27 reassembly steps.
A Game Changer: streamlined Battery Replacement Process
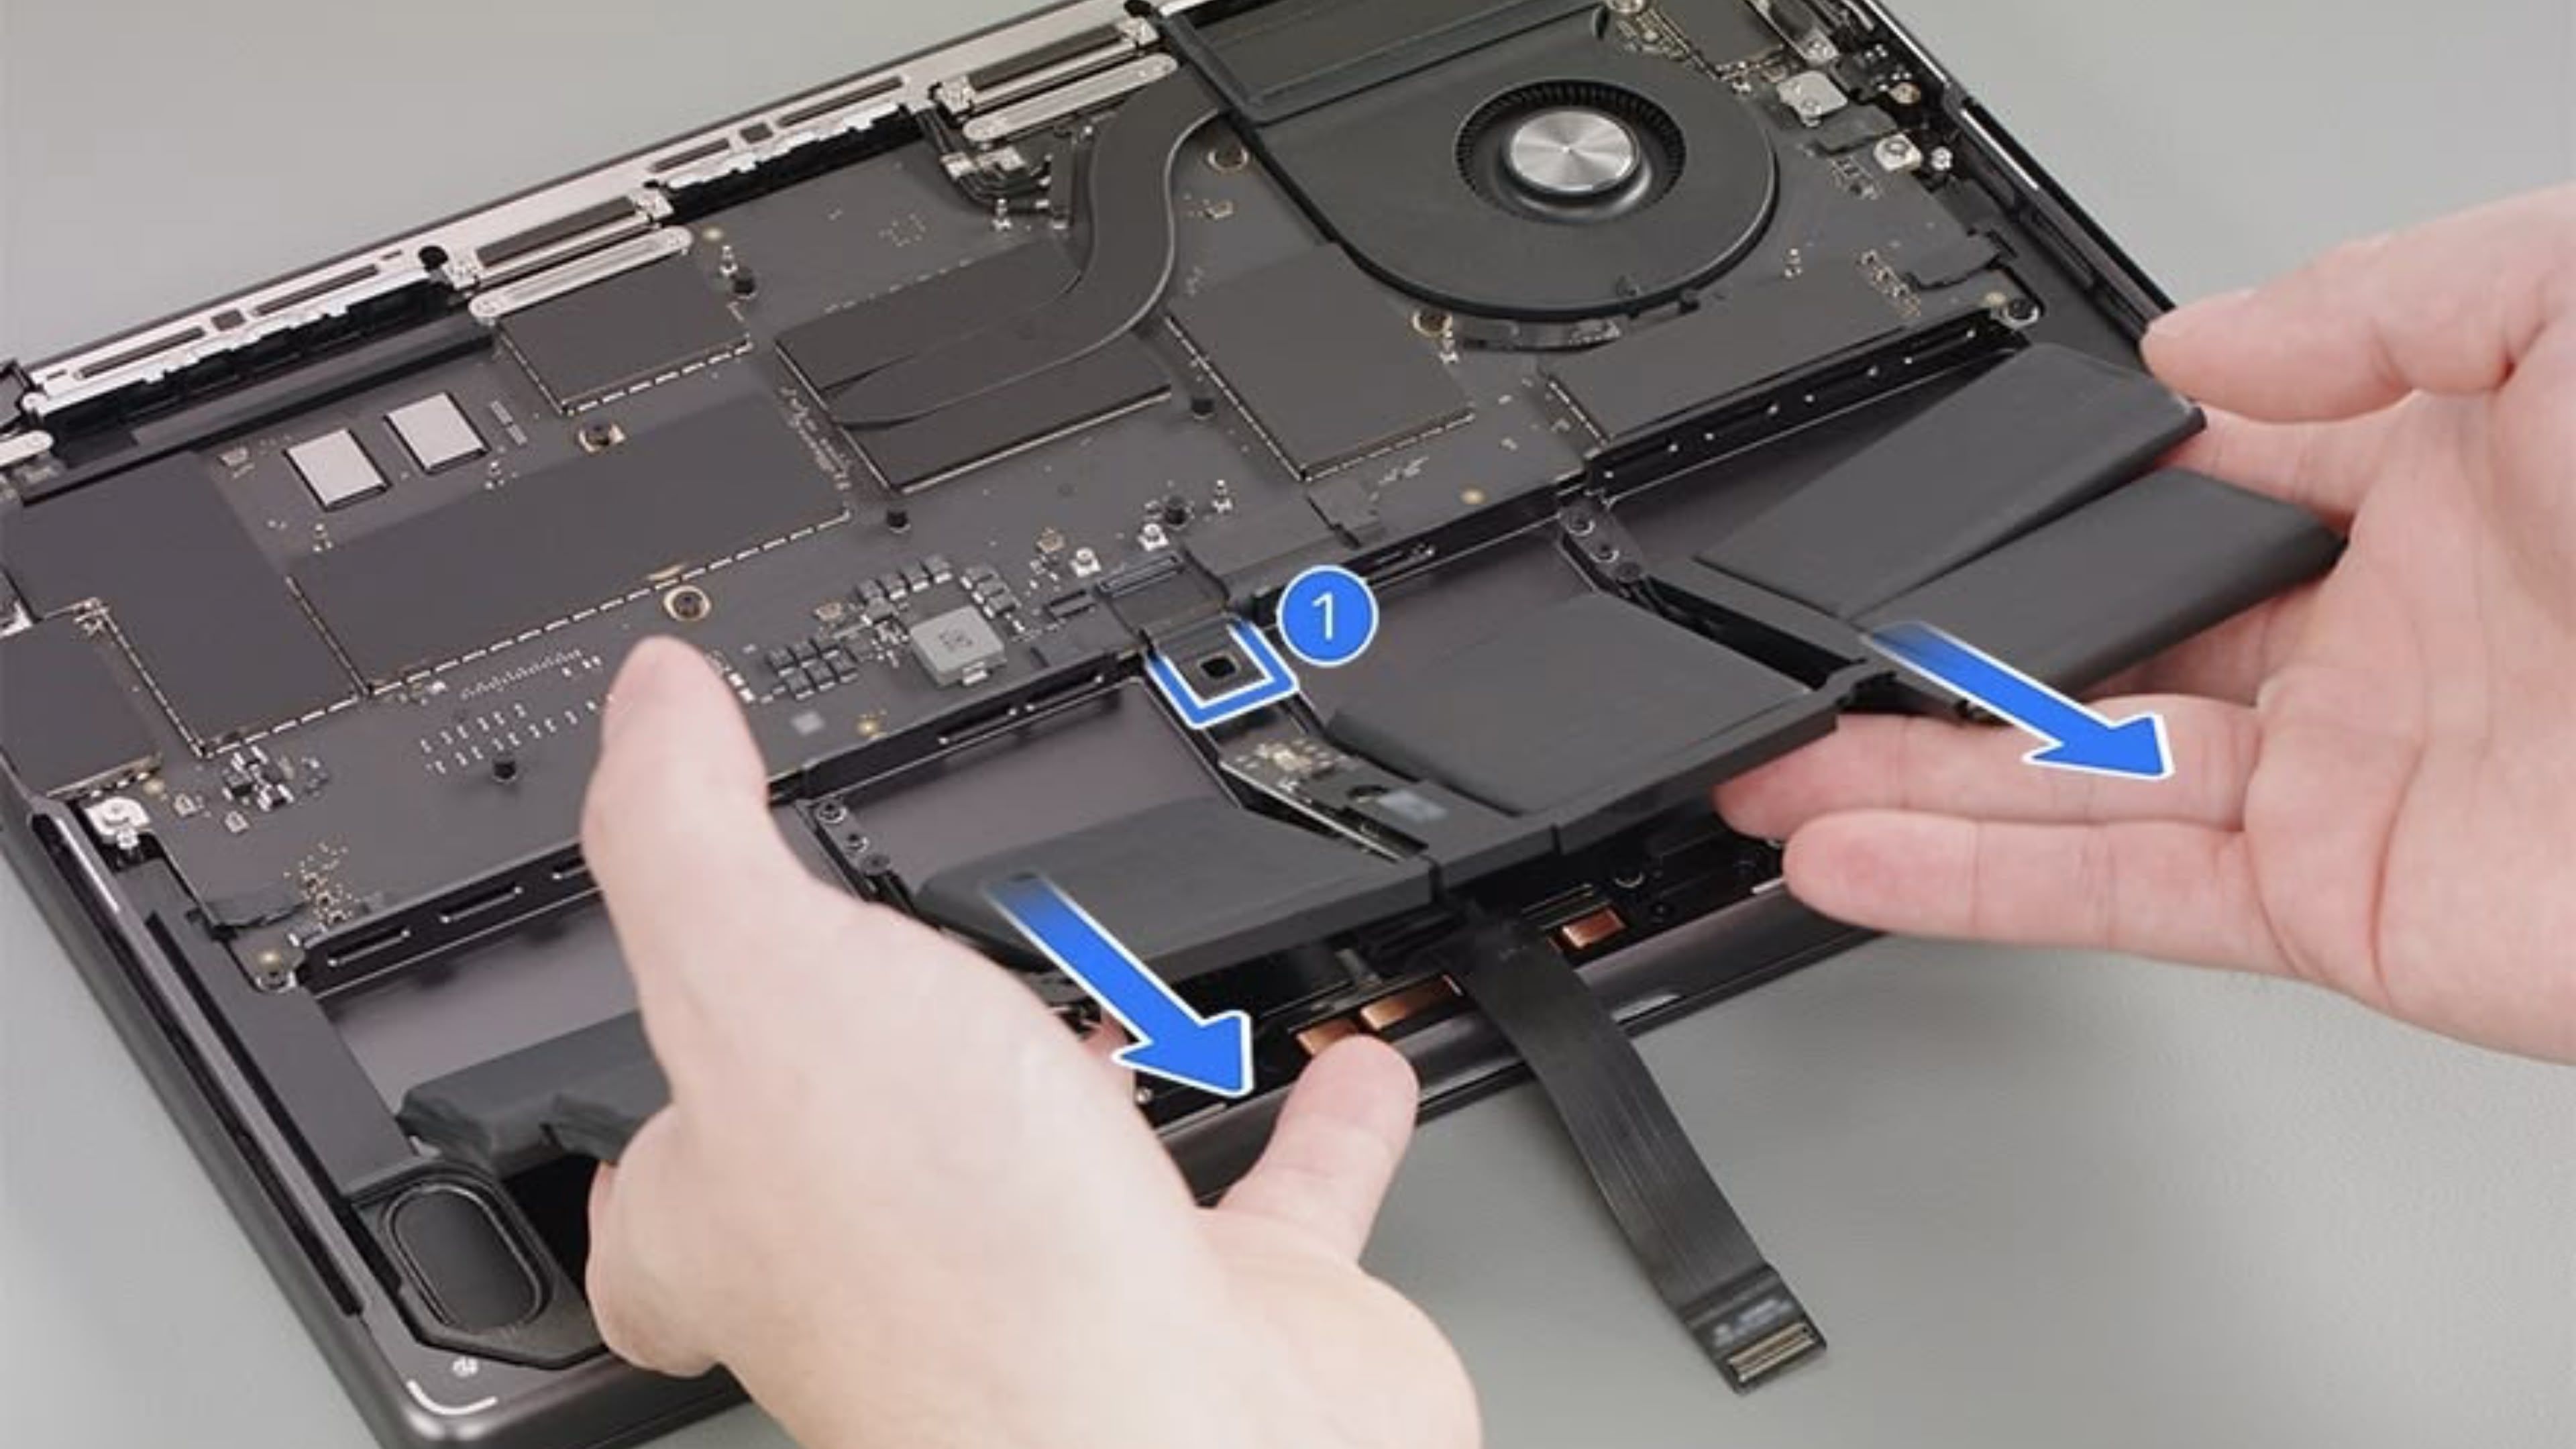
Good news! apple has dramatically simplified the process. As of December 2025, users participating in the Self Service Repair program can now replace the battery on their 14-inch M5 MacBook Pro without needing to remove numerous other internal components. The new procedure focuses specifically on the battery and its immediate connections.
This means only removing the bottom case and disconnecting the battery management unit flex cable are required to access the battery. This focused approach significantly reduces the risk of accidental damage during the repair and makes it a more realistic undertaking for a wider range of users.
Cost Breakdown: DIY vs. Professional Repair
Let’s talk numbers. Hear’s a breakdown of the costs associated with a DIY battery replacement using Apple’s Self Service Repair program:
* Replacement Battery: $209.25 (purchased directly from Apple’s Self service Repair Store: https://selfservicerepair.com/en-US/macbook-pro-14-inch-m5/battery)
* Repair Tools: Cost varies depending on whether you already own them. Apple offers a rental kit, but pricing isn’t fixed and depends on the duration of the rental. Expect to potentially spend upwards of $49 for a rental kit.
* Core return Credit: $22.50 (received upon returning your old battery to Apple – a great incentive for responsible recycling!)
Total Estimated cost (DIY): $186.75 – $235.75 (depending on tool rental)
Professional Repair: Costs can vary significantly based on location and provider. Expect to pay anywhere from $199 to $399+ for a professional battery replacement.
Considering thes figures, the Self Service Repair program offers a substantial cost saving for those agreeable with a moderately complex repair.
Step-by-Step Guide: Replacing Your M5 MacBook Pro Battery
Apple provides a detailed repair manual to guide you through the process. You can access it here: https://support.apple.com/en-us/123159. Here’s a summarized overview of the key steps:
- safety First: Shut down your MacBook Pro entirely.
- Discharge the Battery: Follow the manual’s instructions to safely discharge the battery before beginning disassembly. This is crucial to prevent electrical shock.
- Remove the Bottom Case: Carefully remove the screws securing the bottom case and detach it from the chassis.
- Disconnect the Battery Management Unit (BMU) Flex Cable: Locate and carefully disconnect the flex cable connecting the battery to the logic board.
- Remove Adhesive Strips: Gently remove the adhesive strips securing the battery to the chassis. Use a plastic opening tool to avoid damaging the battery or surrounding components.
- Lift Out the Old Battery: Carefully lift the old battery out of the chassis.
- Install the New Battery: Align the new battery and secure it with new adhesive strips (provided with the replacement battery).
- Reconnect the BMU Flex Cable: Reconnect
Related reading